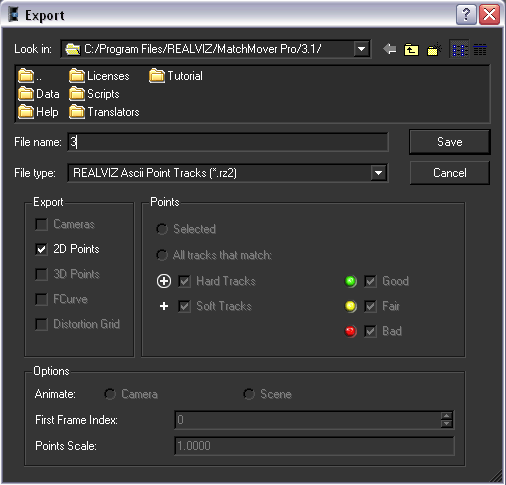
In Save as type,
select a file format from the drop-down list of formats supported
by MatchMover.
Type a File Name in
the corresponding text field.
In 3D Points, click
either:
Selected (if
you want only those point tracks you have selected).
All tracks that match at
least one criterion in each column. Manual, Automatic,
or both, and the quality of the points (Good, Fair, Bad).
For example, if you check Manual and Good and Fair, only hard tracks
with yellow and green icons will be exported. Regardless of quality,
no soft tracks will be exported.
Choose an Animate radio
button. For certain formats both Camera and Scene radio
buttons are available. If you select Camera, the
3D points are fixed and the camera moves. If you select Scene,
the camera position is fixed and the 3D points move.
If enabled, you can set a first
frame index to select the frame in the 3D package when
the current solve will start.
If enabled, you can set a point
scale that will be used to scale all the exported 3D tracks.
Click Save.
NoteThe Export toggle
boxes show the type of data to export. All track groups are exported
as such, and mobile points are animated.
 . The Export window
opens.
. The Export window
opens.