.
.
The Tool Settings window appears. See Create Deformers > Wire Tool.
To create a wire deformer without holders
The cursor changes to a crosshair icon, and the Wire Tool icon is appears in the Tool Box. You are now ready to use the Wire Tool to create a wire deformer with the Wire Tool’s current tool settings.
The helpline displays information to lead you through the process of creating a wire deformer.
 (Linux and
Windows) or
(Linux and
Windows) or  (Mac
OS X) key.
(Mac
OS X) key.
If the only curves on the object’s surface are the curves you want to use as influence wires, drag the cursor over all the curves on the object. The Wire Tool automatically selects only the curves.
or key.
A wire deformer is created based on the Wire Tool’s settings. The curves you selected are now influence wires that you can use to deform the object(s) you selected.
A base wire is created for each influence wire. The base wire(s) are listed in the Outliner. By default, they are not shown in the scene, but they do influence the deformation effect. The wire node calculates the deformation effect based on differences between each influence wire and its base wire.
A deformer set is created. The deformer set includes all the deformable object’s points that can be influenced by the wire deformer.
For more information on creating and editing deformation effects, see Editing wire deformation effects.
To create a wire deformer with a holder
The cursor changes to a cross-hair, and the Wire Tool icon appears in the Tool Box. You are now ready to use the Wire Tool to create a wire deformer with the Wire Tool’s current tool settings.
Note that the Maya helpline displays information to lead you through the process of creating a wire deformer.
(Linux
and Windows) or (Mac
OS X) key.
or key.
or . An
influence wire can only have one holder.
or .
or , then
select the curve that will be a holder, and press or again.
Pick the next curve that will be an influence wire, press or , then
select the same holder curve, and press or again.
Continue this process for each influence wire curve that will be
assigned the holder curve.
or .
A wire deformer is created based on the Wire Tool’s tool settings. The curves you selected are now influence wires that you can use to deform the object(s) you selected.
A base wire is created for each influence wire. The base wire(s) are listed in the Outliner. By default, they are not shown in the scene, but they do influence the deformation effect. The wire node calculates the deformation effect based on differences between each influence wire and its base wire.
A deformer set is created. The deformer set includes all the deformable object’s points that can be influenced by the wire deformer.
For more information on creating and editing deformation effects, see the next section, Editing wire deformation effects.
 -click
on any wire in the deformer to select the deformer to which you
want add the curves as influence wires.
-click
on any wire in the deformer to select the deformer to which you
want add the curves as influence wires.
The selected curves become influence wires for the wire deformer.
A wires group is created that includes the influence wire and the base wire. The wires group is named after the influence wire and listed in the Outliner.
This section shows you how to create a typical wire deformer as quickly as possible.
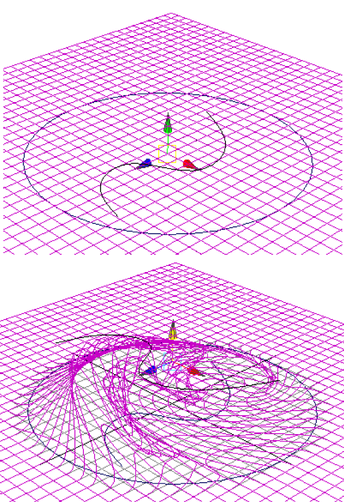
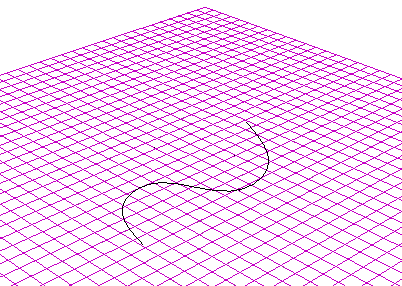
In this example, you will deform a surface with an S-shaped curve, limiting the deformation region with a circle.
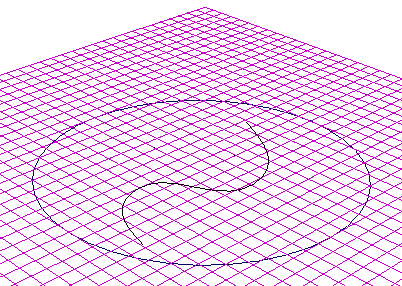
You’ll use the circle to limit the deformation region. A curve that limits the deformation region is called a holder.
.
In the workspace, note the cursor is now cross-shaped, indicating you are using the Wire Tool.
Be sure you do the next four steps in exactly the following order.
(Linux
and Windows) or (Mac
OS X).
or .
or .
or .
Selecting nothing tells Maya you are done selecting holders, and tells it to create the wire deformer.
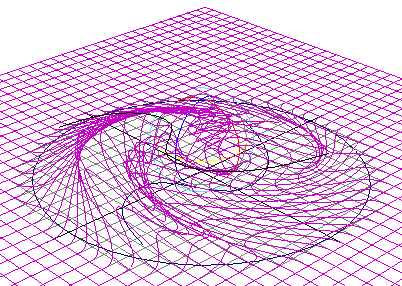
Maya now creates a wire deformer. You can now manipulate the S-shaped curve to create deformation effects. Note that only the region within the circle can be affected.
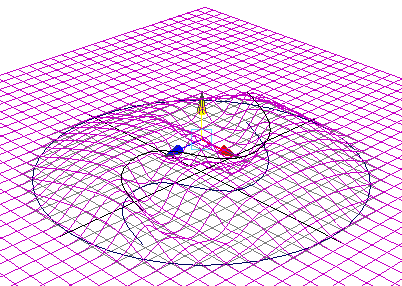
The plane deforms upwards as if attracted to the S-curve.
The wire deformer uses the S-shaped curve to influence the shape of the deformation, so this curve is called an influence wire. Meanwhile, because the circle is limiting the deformation region, it’s called a holder.