Create a stereoscopic camera

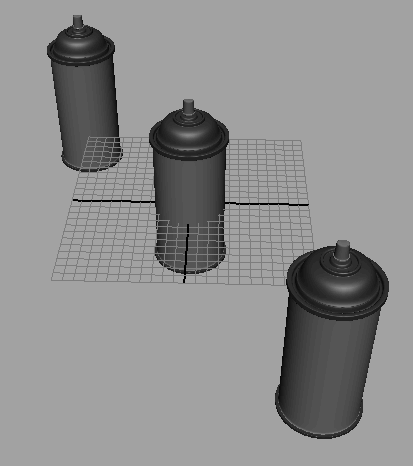
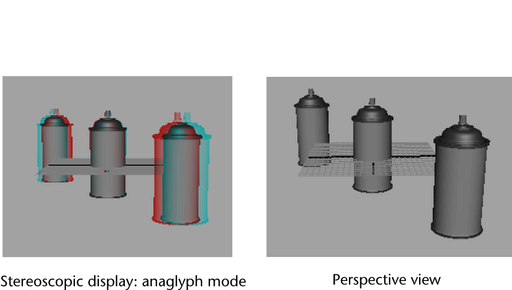
In this scene, there are three objects. Select Panels > Layouts > Two Panes Side by Side to view the perspective view and stereoscopic view simultaneously.
To create a stereoscopic camera, do as follows:
An icon with three cameras appear, indicating that a stereo camera has been created.
You have now created and named a stereoscopic camera for your scene. In the next steps you will be adjusting the attributes of the cameras to fine tune the anaglyph effect.
Editing the attributes of the stereoscopic camera
Here are some general guidelines for tweaking the attributes of the stereoscopic camera:
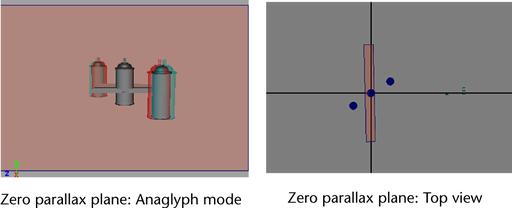
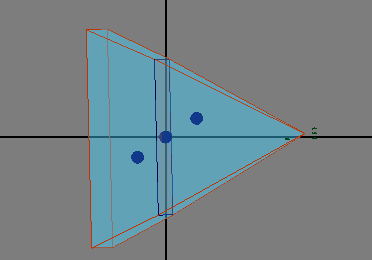
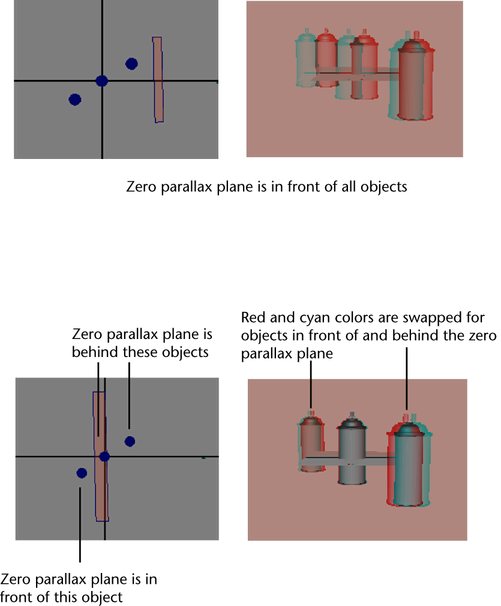
In this example, the stereoscopic effect is the most realistic when the Zero Parallax Plane is in between the two objects.