


Learning Resources > Tutorials > Getting Started with Maya > Assets > Lesson 1: Setting up an
asset >
Publishing multiple attributes
to a single published name
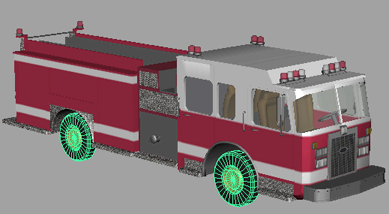
Unlike the doors, a fire truck’s wheels are expected to move together. For example, the wheels on the front and back axles should spin together, and the front wheels should turn together. To do this, you need to create a custom attribute to control both components at once. Then you can publish your custom attribute to the container.
To turn the front wheels together
Maya adds the new attribute to Wheels_GRP in the Extra Attributes section of the Attribute Editor. The Add Attribute window stays open.
Your custom attributes can be found in the Extra Attributes section of the Attribute Editor. However, if you modify their values, nothing happens. This is because you have not connected them to anything yet.
To make the front wheels turn together
The right column is filled with the left wheel’s attributes.
rotateY turns to italics to signify that it has been connected.
If you adjust the value of Front_wheel_turn, both front wheels turn together.
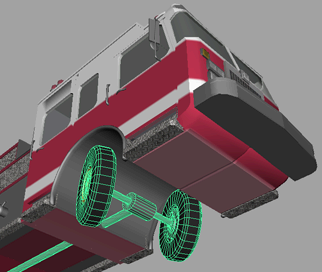
Next you need to make the front and rear wheels spin in unison.
To make the front and back wheels spin together
Now if you adjust the value of the wheel_spin attribute in the Attribute Editor or Channel Box, all four wheels spin in unison. Although, in some cases, it’s useful for the front and back wheels to be able to spin at different rates, the current setup is fine for this tutorial.
Now you can publish your custom attribute to the container. You can do this directly from the Attribute Editor.
To publish the wheel turn and wheel spin
 -click
Front Wheel Turn and select Publish to ‘Fire_truck_CNT’ from
the marking menu.
-click
Wheel Spinand select Publish to ‘Fire_truck_CNT’ from the
marking menu.
-click
Front Wheel Turn and select Publish to ‘Fire_truck_CNT’ from
the marking menu.
-click
Wheel Spinand select Publish to ‘Fire_truck_CNT’ from the
marking menu.
Both attributes are published to the fire truck container with the same published names as their corresponding custom attributes.