


User Guide > Rigging > Character Setup > Skinning > Smooth skinning > Understanding smooth skinning >
Understanding smooth skinning
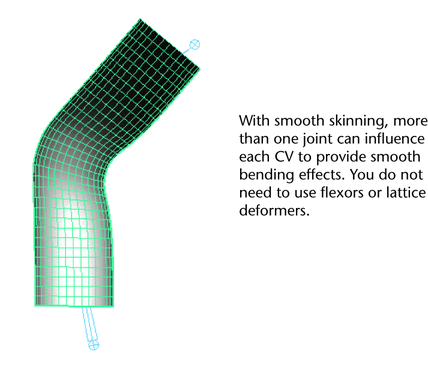
Smooth skinning makes smooth, articulated deformation effects available immediately after you bind skin. The smoothing effects around joints are automatically set up when you bind skin. Maya provides smooth deformation effects by allowing several nearby joints to have varying influences on the same skin points (NURBS CVs, polygonal vertices, or lattice points). By default, their influence varies with distance, but you can edit or paint the skin point weighting on a joint-by-joint basis.
Unlike rigid skinning, with smooth skinning you don’t have to use deformers, flexors, or edit skin point set memberships to get smooth deformation effects. The smoothing effects around joints are automatically set up when you bind. The effect of each joint on a smooth skin point depends on the joint’s proximity to the point.