Learning Resources > Tutorials > Getting Started with Maya > NURBS Modeling > Lesson 2: Sculpting a NURBS surface >
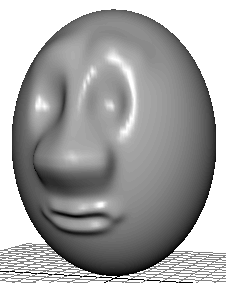
Sculpting a mouth
With the 30 Sections and 30 Spans specified for the original sphere in this lesson, the large space between isoparms in the mouth region makes it impossible to create a subtle shape for the lips.
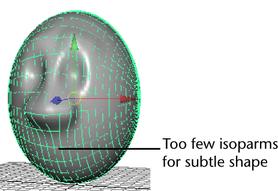
To overcome this problem, you must insert isoparms in the mouth region before sculpting.

 . In
the options window, turn on Between Selections,
enter a value of 2 for # Isoparms to Insert,
then click Insert.
. In
the options window, turn on Between Selections,
enter a value of 2 for # Isoparms to Insert,
then click Insert.
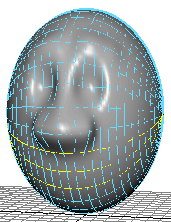
This inserts two extra isoparms between each pair of selected isoparms, for a total of four extra isoparms. This provides enough CVs to create subtlety in the mouth.
You might want to add vertical isoparms at the lips in a similar way. The extra isoparms would also be useful if you were to later enhance the shape of the nose. Insert isoparms only where needed. More isoparms means slower processing speed.
In any case, do not change the number of isoparms by editing the original number of Sections and Spans in the makeNurbSphere history node. This will reshape your sculpted surface undesirably.
To sculpt a mouth for the character