Saving the history as a button


You can save Script Editor history as a Shelf button.
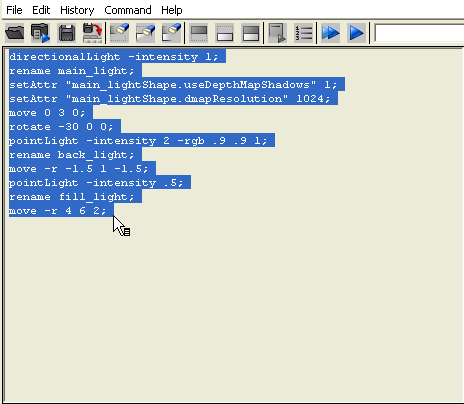
To create the shelf button

  1. Highlight all the text in the history window by clicking at the beginning of the history in the upper section of the Script Editor and dragging the selection to the end of the Script Editor history section.

  2. Release the mouse button. The selected text should read:
    directionalLight -intensity 1; rename main_light; setAttr "main_lightShape.useDepthMapShadows" 1; setAttr "main_lightShape.dmapResolution" 1024; move 0 3 0; rotate -30 0 0; pointLight -intensity 2 -rgb .9 .9 1; rename back_light; move -r -1.5 1 -1.5; pointLight -intensity .5; rename fill_light; move -r 4 6 2;
  3. Middle-drag the selected text to the shelf.

    A pop-up window asks you which type of shelf button you are saving.
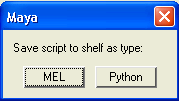
  4. Click the MEL button on the pop-up window.

    A Shelf button is created that executes the scripting commands you dragged to the shelf setting up three-point lighting for a scene.

To test the Shelf button

  1. Open the scene named Mel_cone.mb.

    This file can be found in the GettingStarted directory that you set as your Maya project:

    GettingStarted/MEL
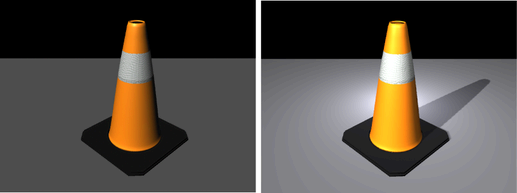
  2. Render the scene in the perspective view by selecting the render scene button on the Status Line.
  3. Save the rendered image by clicking the Keep Image button in the Render View.
  4. Click your newly created MEL Shelf button.

    Three point lighting is applied to the scene.

  5. Render the scene again by selecting the render scene button on the Status Line.
  6. Compare the two images using the scroll bar at the bottom of the window.

To delete the Shelf button

  1. Middle-drag the Shelf button you want deleted to the trash can icon on the far right of the Shelf.
    NoteThe pointer icon changes to a icon when you are dragging a Shelf button.