


Learning Resources > Tutorials > Getting Started with Maya > Animation > Lesson 4: Nonlinear animation
with Trax >
Creating clips from motion
capture data
When creating a clip from motion capture, it is a good practice to begin by creating a source clip from the entire motion sequence that excludes the Da Vinci pose. You can create the clip and save it to the Visor or Outliner directly without loading it onto a track. You can later revert back to the source clip and load it into a track if necessary.
To create a source clip of the motion capture data
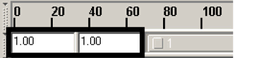

The skeleton is repositioned at frame 1 where the walking motion begins.
The skeleton is highlighted. When the skeleton is selected, many red ticks appear in the Time Slider. The red ticks represent keyframes from the motion capture data.
 .
.
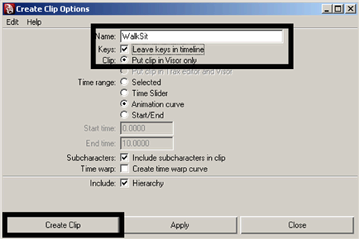
The source clip appears in the Outliner named as WalkSitSource. (If you use the Visor, the clip appears under the Character Clips tab.)