


Learning Resources > Tutorials > Getting Started with Maya > Polygonal Modeling > Lesson 1: Modeling a polygonal
mesh >
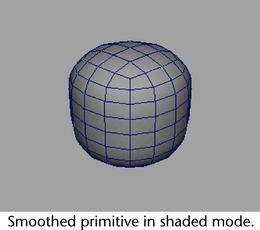
Modeling in shaded mode
Modeling a polygon mesh in shaded mode gives you a better sense of the 3D volume that the model occupies as well as how any surface details appear.
You can control the shading of an object separately in each view. For example, you can display the object as shaded in the perspective view only, and set the orthographic views to display objects in wireframe mode. You can also set the display settings to show both a shaded and wireframe display simultaneously.
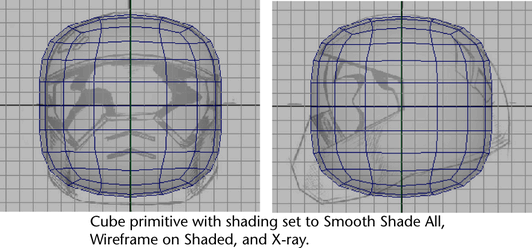
To display the helmet mesh in Wireframe on Shaded mode
The wireframe appears on the mesh as well as the shading (whether or not the mesh is selected).
The opacity of the smooth shading in the side and front views prevents you from seeing the image planes behind the object. X-Ray display mode solves this problem by making the smooth shaded surface appear semitransparent.
To display the helmet mesh in shaded X-Ray mode
The helmet mesh updates to a semitransparent shaded display with the wireframe. You can see the 2D image behind the mesh.
After setting the shading for the objects in the various views, you may wish to adjust the Alpha Gain setting on your image planes to change their transparency. As you gain experience with Maya, you’ll develop your own personal preferences for modeling in wireframe or shaded mode and switching between the various shading modes.