


Learning Resources > Tutorials > Getting Started with Maya > Character Setup > Lesson 3: Cluster and blend
shape deformers >
Creating a blend shape
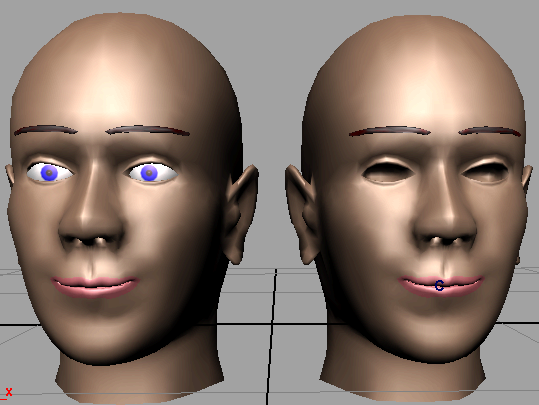
In this section, you create a blend shape deformer to control the smile on baseFace (base object) using the smilingFace (target object). A blend shape deformer is ideal for facial animation, where you need a number of facial positions to be readily available for use in an animation sequence. With a blend shape deformer, you can set up a character’s face to blend between a smile, frown, smirk, and so on.
In the next steps, you create a blend shape deformer to change the baseFace into the smile of smilingFace.
To create a blend shape deformer
The smilingFace (the first selection) is called the target object, while baseFace (the second selection) is called the base object. The objective of a blend shape operation is to morph the base shape into the target shape.
 .
.
Note that you can click the Key button below the slider to set an animation key for the shape of the face at the current frame. By setting a few keys with different slider values at different points in the timeline, you can animate from the neutral expression to a full or partial smile or vice versa.
When you key the shape,
Maya applies the key to the blendShape node that was created when
you selected
Create Deformers > Blend Shape > . If
you need to select the blendShape node, for instance, so you can
see or delete the keys in the Time Slider, click the Select button
in the Blend Shape editor.