Show in Contents

Add to Favorites

Home: Autodesk Maya Online Help

Render raytraced shadows

Cast shadows

Remove shadows

Catch shadows for an alpha
channel
For more information
about shadows, see
Shadow in Maya.
The following is a simple
example of how to use the Use Background material to catch shadows.
To capture only shadows in an alpha channel
- In Hypershade,
create a Use Background material and assign it to the shadow catching
object(s).
- Select the objects(s) in the scene casting
shadows. In the Render Stats section of the
objects’ Attribute Editor, turn Primary
Visibility off.
- Render the scene.
Shadow information is
captured in the alpha channel.
To
assign Use Background to stand-in geometry
- Use this workflow to make a 3D object
look like it’s in a real environment. The real environment usually
comes from a snapshot or live action shot that is assigned to an
image plane. The object can cast shadows onto the seemingly invisible
plane, which acts as the shadow catcher.
- Create an image plane using the scene
in which you want to place the stand-in geometry by doing the following.
- Select View > Image Plane
> Import Image from the current view.
- Browse to the file you want and click Import.
A placement icon appears
in either the current view or all views, depending on the Display
mode you set, and the Image Plane Attribute Editor opens.
- Select an Image File or Texture from
the Type drop-down list, then
click the folder icon next to Image Name to
load an image plane into the view.
NoteMake sure you select
the
Image Plane Attached to Camera option
to position the plane where you want it before you create a stand-in
object. For more information about image planes, see
Image plane in
the
Shading guide.
- Set the following attributes in the Image
Plane Attributes section:
- Display–looking
through camera
- Image Plane–attached
to Camera
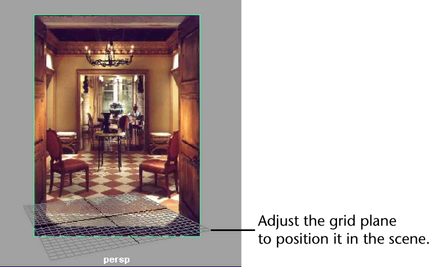
- Adjust the perspective camera so that
the construction grid plane aligns approximately where you want
to place the object.
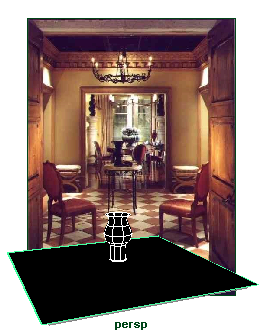
- Create and position a NURBS or polygonal
plane on which to cast shadows and reflections.
- Position the object you want to cast
shadows onto the stand-in geometry on the grid plane.
- In Hypershade,
create a Use Background material and
assign it to the plane.
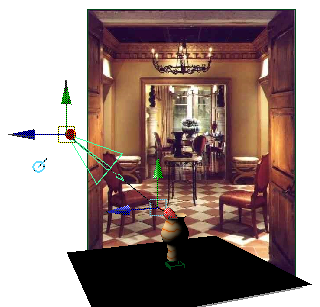
- Create and position lights in the scene.
Turn on the Use Depth Map Shadows attribute
in the Shadows section of the light’s Attribute
Editor to see the shadows in the rendered result.
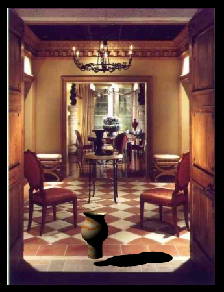
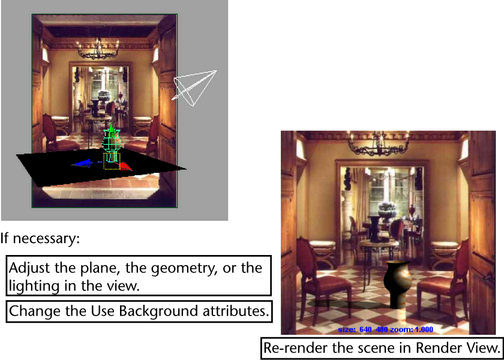
- Render the scene in Render
View (for best results, do not IPR render).
- Adjust the location of the geometry,
the lights, and the Use Background attributes if
necessary and then re-render the scene at any time.