Create, edit, or position an image plane


For more information about image planes, see Image plane.

To create an image plane

  1. Select View > Image Plane > Import Image from the current view.
  2. Browse to the file you want and click Open.

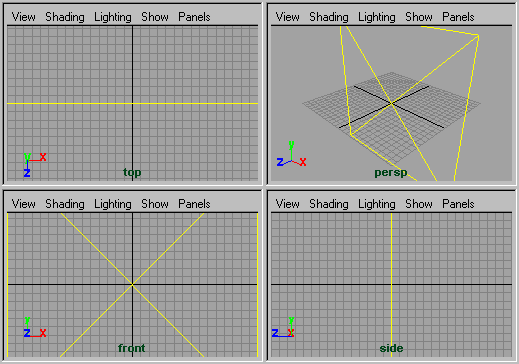
    A placement icon appears in either the current view or all views, depending on the Display mode you set (in all views by default), and the Image Plane Attribute Editor opens.

  3. Select an Image File or Texture from the Type drop-down list, then click the folder icon next to Image Name to load an image plane into the view.

    For a description of image plane attributes, see Image plane

To edit an existing image plane

  1. Select View > Image Plane > Image Plane Attributes from the current view and choose any of the camera’s image planes you want to edit.

    The selected image plane’s attributes display in the Attribute Editor (unless the Attribute Editor has been hidden)

    TipRight-click the arrow key of the image plane attribute in the camera to display a list of the image planes per camera.

To position an image plane

  1. Do one of the following: