


User Guide > Rendering and Render Setup > Shading > About shading and texturing
surfaces > Using hardware shaders >
Work with CgFX shaders
For more information on the Plug-in Manager, see Plug-in Manager.
To create an CgFX Shader material
The new shading material appears in the Hypershade, and the CgFXShader material node appears in the Attribute Editor.
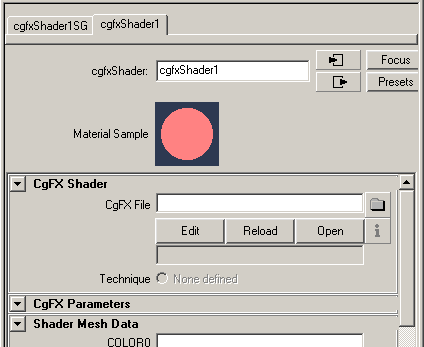
Once the .cgfx file is connected to the CgFXShader node, the plug-in automatically loads attributes (if any exist) into the Extra Attributes section in the Attribute Editor.
Adding placement into CgFx shaders
Cgfx shaders do not automatically support texture placement which is found inside Maya (place2DTexture or place3DTexture node) because CgFx is a node which uses a programmable shading language. Using this language means that the texture transform cannot be set from outside. Instead, it needs to be explicitly coded into the shader. If such parameters are in the shader, then the automatic UI generation creates the UI elements. You should then connect the appropriate attributes from the texture placement node(s) to the attributes on the shader.
Reloading, Editing and Viewing CgFX files
See the procedures in Reloading, Editing and Viewing FX files; the workflows are similar for CgFX editing.