Create Hypershade tabs


For more information on the Hypershade, see Hypershade window.

Hypershade’s tabs contain the nodes that make up the current scene. Click a tab to view specific nodes.

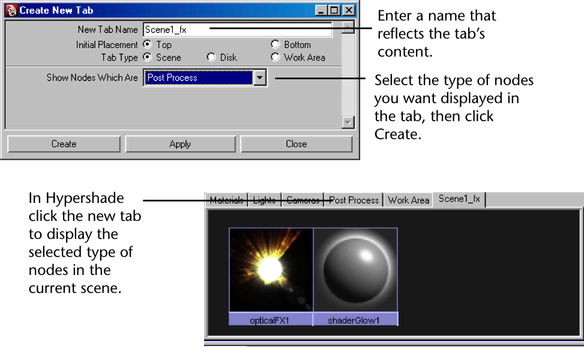
To create a new tab in Hypershade

  1. Select Tabs > Create New Tab.
  2. Enter the name of the new tab. This name appears on the new tab in Hypershade.
    TipUse names that indicate the content of the tab.
  3. For the Initial Placement, select either the Top or Bottom option to view the new tabs at either the top or bottom panels of Hypershade.
  4. Select a Tab Type and specify the corresponding options:
    Scene

    Displays a collection of nodes in the current scene. When you select this tab, you must specify an option from the Show Nodes Which Are drop-down list.

    Work Area

    Displays shading networks that are in the scene depending on the mode you choose: Input, Output, or Input and Output Connections.

    Disk

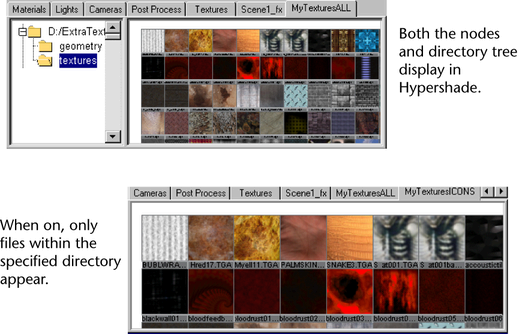
    Displays files and, or directories on disk. When you select this tab type, the Create New Tab window expands to display the Root Directoryoption.

    Show Nodes Which Are

    For Scene tabs, select to display only certain node types within a specified tab.

    Root Directory

    For Disk tabs, either type the path name if you know it, or click the folder icon to browse through directories to select the directory where the items are stored.

    Only Show Files (Hide Directory Tree)

    For Disk tabs, turn this on or off to hide or show the directory tree. This is especially helpful if you find you routinely work with files located in one specific directory. You can switch between viewing directory folders or just the files within that directory.

  5. Click Create.

    For example, if you want to create a tab that displays only the special effects nodes of the scene, name it appropriately, select Post Process from the list, then click Create. Hypershade displays the Post Process nodes in the scene.