Layer painted textures


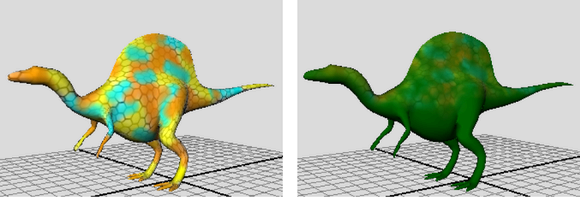
By systematically saving your texture, painting over it, then erasing back to reveal the underlying strokes, you can create interesting layered effects.

  1. Make sure Update on Stroke is turned off in the File Textures section of the 3D Paint Tool Settings editor. This option saves the texture after every paint stroke.
  2. Paint a basic texture (or map an existing file texture to the surface) and click Save Textures.
  3. In the Flood section, select a Color, ensure the Flood All radio box is on and click Flood Paint to flood the surface with another color.
  4. Change the Paint Operation to Artisan Erase.
  5. In the Color section, change the Opacity to be less than 1 (or if you have a stylus and tablet, use pressure sensitivity—see next step). The lower the opacity, the less paint will be removed when you erase.
  6. Paint on required areas, modifying the Opacity value where necessary to subtly erase back through to the first layer.

    By default, when you paint with Artisan brushes with a stylus and table, Opacity is affected by the pressure you apply to the stylus—the harder you press, the more opaque the stroke. For more information, see Set stylus pressure.

  7. When you are satisfied with the effect, click Save Textures. You can continue to build layers of paint by repeating these steps.