nParticle object attributes determine the physical characteristics of all the nParticles belonging to the object. These attributes affect how the nParticles look and how the nParticle objects move and collide with other Nucleus objects. If you create an emitted nParticle system, the emitter attributes also affect the overall characteristics of your nParticle simulation.
To ensure the lesson works as described, do these steps before beginning:
This file can be found in the GettingStarted directory that you set as your Maya project:
GettingStarted/nParticles/Smoke_Simulation_2.mb
This scene includes textured models that have been created for you. The desk, ashtray, and cigarette provided are all polygon meshes.
When you play back the simulation, you notice that nParticles are being emitted at the scene origin. In this lesson, you move the emitter so that the particles are emitted from the tip of the cigarette.
To move the nParticle emitter object
The nParticle emitter is now positioned at the tip of the cigarette.
nParticles are emitted from the end of the cigarette and into the scene. The size and color of the nParticles are currently set to default values. In the next section you set nParticle size to give the particles the appearance of smoke.

When you play back the simulation, you notice that the nParticles are not dissipating into the air as smoke would. This is because the nParticles lifespan is not yet defined. Using the nParticle Lifespan attributes you make the nParticle disappear from the scene after they reach a specified age. You can set the nParticle object’s size according to its lifespan so that nParticles decrease or increase in size as they age.
The nParticles now die (disappear from the scene) shortly after they are emitted into the scene. nParticle Lifespan is measured in seconds, meaning that at a Lifespan of 1.0, the nParticles die after one second.
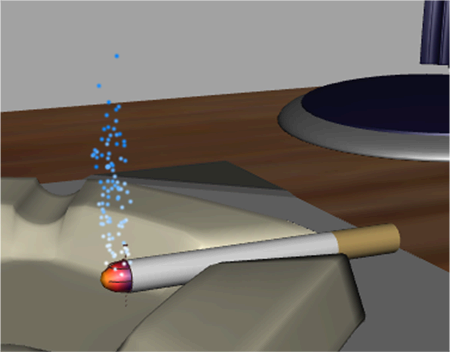
The nParticles die 10 seconds after they are emitted into the scene. For this tutorial, set Lifespan to 20.
The nParticle die off more randomly, but the nParticle object is not dense enough to look like smoke. You can make your nParticle object denser by increasing the nParticle Radius.

For a smoke simulation, the nParticles must gradually disperse as they rise in the air. You can use the Radius Scale ramp to increase the radius of each nParticle as they age, which creates the effect of smoke dispersing until it gradually disappears from the scene.
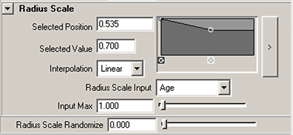
Creating a new marker allows you to set a Selected Value and Selected Position. Selected Values specify the scaling value of the input attribute at the Selected Position. For example, each Selected Value specifies a scaling value for the nParticle object's Radius attribute. By default ramps define a scaling value of 1, meaning that only one mark exists on the ramp and that marker represents an attribute scaling factor of 1. Setting a selected position to 0.5 sets per-particle radius to half the Radius value.

When Normalized Age is used, per particle radius is mapped within the range of the nParticle object’s lifespan.
You can continue to adjust the per-particle radius by adding more markers to the curve, or optimize the ramp’s values as the simulation plays back.
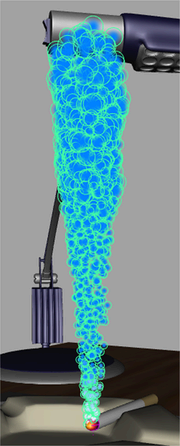
Setting nParticle Shading attributes
To color the nParticles so they look like smoke, you use the Color ramp to specify a color gradient for the smoke. In addition, you adjust Opacity to help produce the effect of the smoke disappearing into the air as the nParticles age.
Like the nParticle Radius attribute, Color and Opacity can be set on a per nParticle object or per-particle basis. Using the nParticle objects's Shading ramps, you can map per-particle Color and Opacity to nParticle properties such as particle Age, Particle ID, and Radius.
To set nParticle Color attributes
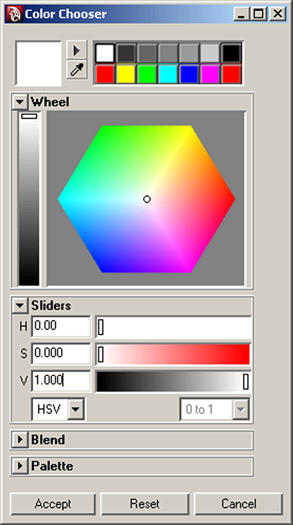
Play back your simulation while you are choosing colors so you can see how the colors look while the nParticle are animated.
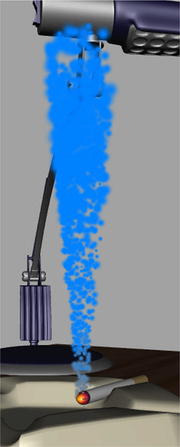
As each nParticle ages from its birth (emission), its color changes from the color specified by the left marker to the one specified by the right marker.
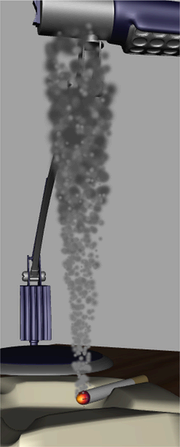
When you play back the simulation, you notice that the smoke is too dense and heavy to resemble cigarette smoke. To make the smoke look thinner, you adjust the nParticle Opacity.
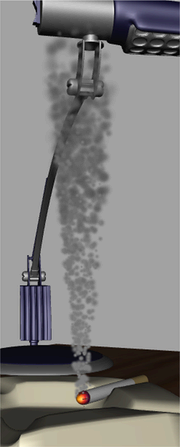
In this lesson you learned how to:
You can further optimize the color and thickness of the smoke by continuing to adjust the Color ramp or Opacity Scale ramp.
For more information and related techniques about nParticles, refer to the Maya Help.