User Guide > Rendering and Render Setup > Rendering > Visualize and render images > Visualize scenes and render images > Visualize a scene >
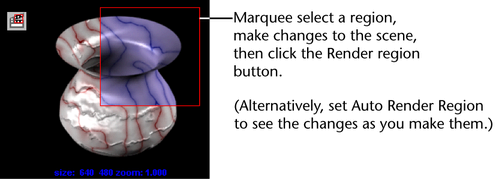
Render a region of your scene
Render View lets you render a specific portion of your scene at any resolution so that you can get a feel for the changes you make as you shade, light, and texture objects.
Unlike rendering at a lower resolution, a process which reduces the size of the entire image, rendering a region can help you make changes more efficiently and quickly to the specific regions of interest at full resolution.
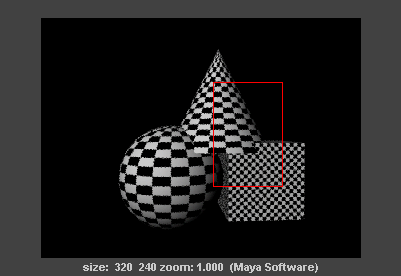
To render a region of your scene