In 3D animation, rendering typically refers to the act of creating a sequence of high-quality image snapshots for each frame of an animation sequence. After rendering the images, you play them in sequence to create a film or video clip. If the concept of 3D animation rendering is new to you, consider doing the lesson Lesson 1: Rendering a scene before completing this section.
You cannot render most particle render types, including streaks, with Maya’s software renderer. You must hardware render the particles.
Hardware rendering uses your computer’s graphics hardware to render a scene to disk and monitor faster than software rendering. Hardware rendering generally displays surface shading and textures less accurately than software rendering, so most people use it only to render particle effects.
In the following steps, you test render the last frame of the scene to make sure the particles look satisfactory. Next, you render the entire frame sequence to disk and then play the rendered images with the flipbook feature.
You must play the particle animation from the beginning in order for particle effects to be displayed correctly at each frame. You cannot go directly to an arbitrary frame in the Time Slider and see correct results. Maya calculates particle animation sequentially frame-by-frame.

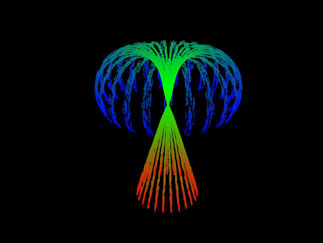
The streaks look smoother than they do in the scene view. You can improve the streaks even more as shown in the next steps.
If you click in the Hardware Render Buffer window, the rendered image disappears. If this occurs, select Render > Test Render again to redisplay the image.
To render the sequence and playback the results
Other attributes in the Attribute Editor specify the image resolution, file format, lighting, and other display characteristics.
This creates a series of files named Emit.0001, Emit.0002, and so on, through Emit.0075. These files are the rendered frames 1 through 75. Maya puts the files in your current project’s images directory.