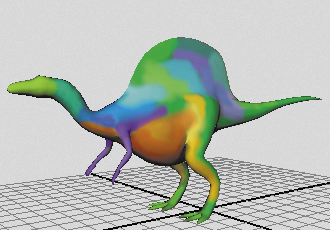
In the following steps, you paint various colors on the texture you just assigned. You also change the size of the brush strokes.
There are two types of brushes you can use. The default is the Artisan brush, which you’ll use in the next steps. (Artisan refers to a group of painting tools in Maya that share common tool settings.) The other brush is based on the Paint Effects brushes; you’ll use it later in the lesson.
To paint using an Artisan brush
By default, when you paint with Artisan brushes, the pressure you apply to the pen affects the Opacity setting of the 3D Paint Tool. The harder you press, the more opaque the stroke.
The new color paints over the first color by default. Note that you can blend the colors by choosing a different Blend Mode setting, under the Paint Operations heading. You won’t blend the colors in this lesson.
Use this hotkey when you need to change the brush width. To make the brush wider, drag to the right. You can also change the width by changing the Radius (U) setting.

To undo a brush stroke, choose Edit > Undo, Redo, Repeat. The number of strokes you can undo is specified by the Queue Size in the Undo category of the Preferences window ( Window > Settings/Preferences > Preferences).