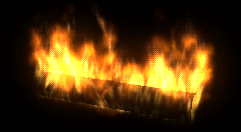
Prepare to use the Fire effect
Before you use the Fire effect, be aware of these issues:
To apply Fire to a group of NURBS surfaces, first convert each surface to polygons and combine the surfaces. From the Surfaces menu set, select Modify > Convert > NURBS to Polygons, then from the Polygons menu set choose Mesh > Combine.
To apply Fire to a group of polygonal surfaces, simply combine the surfaces with Mesh > Combine.
 .
.
The Fire effect creates an emitter, emitted particle object, expressions, ramps, textures, and several fields.
Emitted particles appear as circles in the workspace because the particles are displayed as the Cloud render type.
Here’s an example with Shading > Smooth Shade All turned on.

From the Rendering menu set, for example, select Render > Render Current Frame.

Edit attributes of the Fire effect
The following pages explain attributes you can set to tune the Fire effect. The Fire effect creates several custom attributes in the emitted particle object it creates. The custom attributes control a combination of field or emitter attributes to lessen the settings you would otherwise need to make to tune the fire.
Attributes in the Create Fire Effect Options window
These
attributes appear in the Create Fire Effect Options window
when you select
Effects > Create Fire>  . Changes
you make to the options window affect only fire you create after
you make the changes.
You can edit most of these attributes after you use the Fire effect by selecting the emitted particle object and opening the Extra Attributes section of the Attribute Editor. Exceptions are noted in the text.