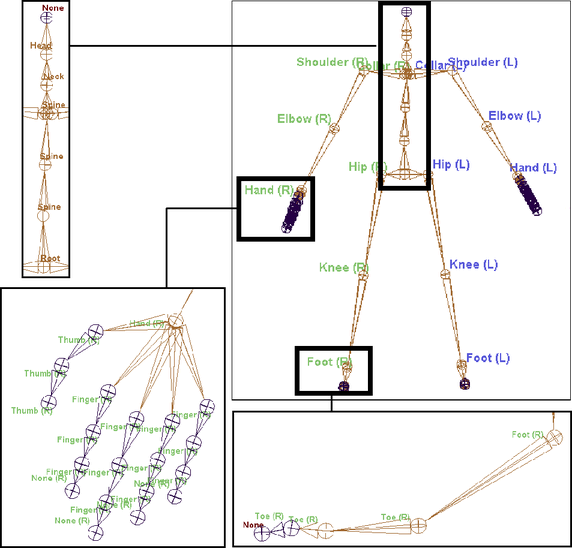
There are three ways in which you can label the joints of your skeleton:
Automatically label a skeleton’s joints
To automatically label the joints of your skeleton’s limbs
For the limbs of your source and target skeletons, do the following:
Joints labels will now appear in the scene view. See Skeleton > Joint Labelling > Show All Labels.
The Retargeting Joint Labelling menu appears. See Skeleton > Joint Labelling > Add Retargeting Labels.
Each joint, from the selected parent down its joint chain’s hierarchy, is automatically labeled according to their positions in their respective joint chain.
For example, if you select the left shoulder joint of a skeleton and click Label Left and then Label Arm in the Joint Labelling menu, then that joint will be labelled as Shoulder(L), the next joint in the chain will be automatically labeled as Elbow(L), and the next joint will be labeled as Hand(L) and so on.
Label using Retargeting Joint Labelling
To label your character’s joints using the Retargeting Joint Labelling menu
Joints labels will now appear in the scene view. See Skeleton > Joint Labelling > Show All Labels.
The Retargeting Joint Labelling menu appears. See Skeleton > Joint Labelling > Add Retargeting Labels.
The side and type labels appear beside the current joint. For example, if you selected Label Right as the side label and Label Knee as the type label, then the label Knee(R) will appear beside the joint in the scene view.