The FBX Converter is compatible with the following versions of Microsoft Windows:
- Windows 7 (32/64-bit)
- Windows Vista (32/64-bit)
- Windows XP (32/64-bit)
To install the FBX Converter:
- Download the install file from the Autodesk web site (www.autodesk.com/fbx).
- Select x64 for the 64-bit version.
- Double-click the install file to launch the FBX Converter installer.
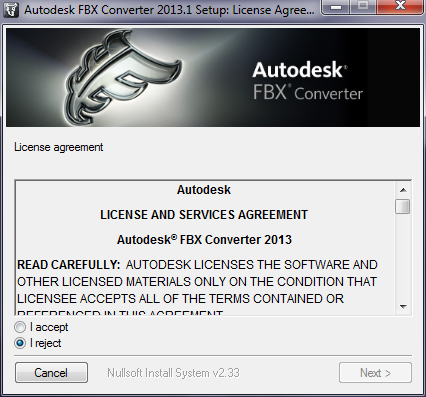
- Click I accept to accept the terms of the license agreement, and then click Next.
- The next window shows the recommended installation location for the FBX Converter. If you want to specify another location,
click Browse to launch the file browser. Click Next.
- The next window asks if you want to "Add the Explorer shell extension for ADSK FBX Converter 2013?". Click Yes if you want
to create right-click options for FBX files in Windows Explorer.
These contextual options let you launch the FBX Converter for the selected file. Clicking Yes also adds a new "FBX Information"
tab in the File Properties dialog box that displays statistics for the FBX file.
- The installation completed window appears. Click Close to exit the installer.
Note
To start the application, click Start > All Programs > Autodesk > Autodesk FBX Converter > FBXConverterUI. You can also double-click
the FBX icon on the desktop.
