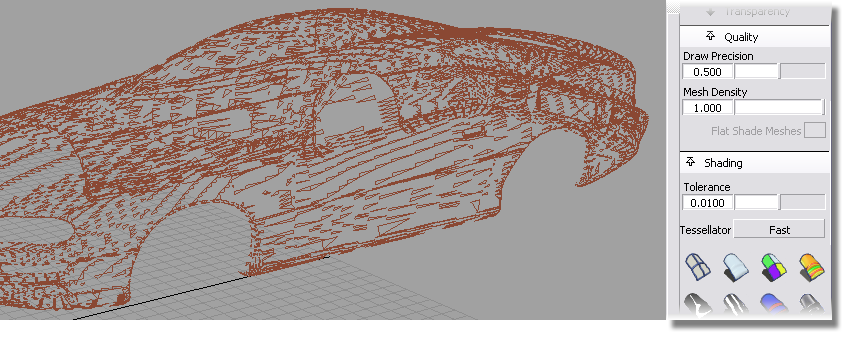
How to reduce mesh display density for faster response time, and adjust transparency for display purposes.
Change the mesh display density
- Toggle on the Control Panel by using Windows > Control Panel
 , if it is not already open.
- In the section, adjust the slider to determine which percentage of the polygons will be displayed.
- Perform viewing (tumble, etc) or positioning (Move, Rotate, etc) operations on the model.
- If needed, continue adjusting the value until you reach an acceptable compromise between performance speed and display detail.
Note
By default, the slider is set to 1.0 (all the triangles are drawn). The density setting applies to both shaded and wire frame
modes.
Tip
You may want to adjust the to a smaller value before opening your model.
Change the mesh transparency
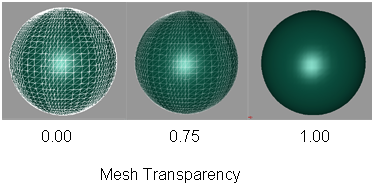
In the section of the Control Panel, adjust the slider to control the level of transparency of the mesh wireframe. A value of 0.0 means the mesh is completely opaque. A value
of 1.0 means the mesh is completely transparent (that is, invisible).
This is particularly useful when displaying the mesh in a shaded mode. (See Shade a mesh).
Note
By default, the slider is set to 0.0. The transparency setting applies to both shaded and wire frame modes.
 , if it is not already open.

