How to draw a keypoint line that is parallel to an existing curve, or at a specific angle to an existing curve.
Draw a line parallel to a curve
 .
.


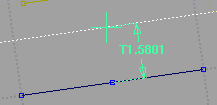
As you drag the start point, the Parallel Line tool displays the distance between the lines in current linear units.

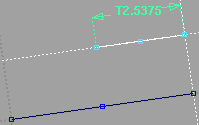
As you drag the end point, the Parallel Line tool displays the length of the line in current linear units.
Draw a line at an angle to a curve
 .
.

If you click a curved line, the new line is drawn at an angle to the line that passes through the end point of the curve.
 (Windows) or
  (Mac). The Line at Angle tool adds a new guideline at that angle.

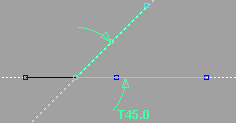
As you drag the end point, the Line at Angle tool displays the angle in current angular units (degrees by default).
I want to edit the coordinates, parallel distance, or angle after I create a line?
Make sure the line is selected, then choose Windows > Information > Information Window and change the Line Offset or Rel Angle attribute.
The relationships between keypoint lines are maintained until you manually reshape one of the lines.