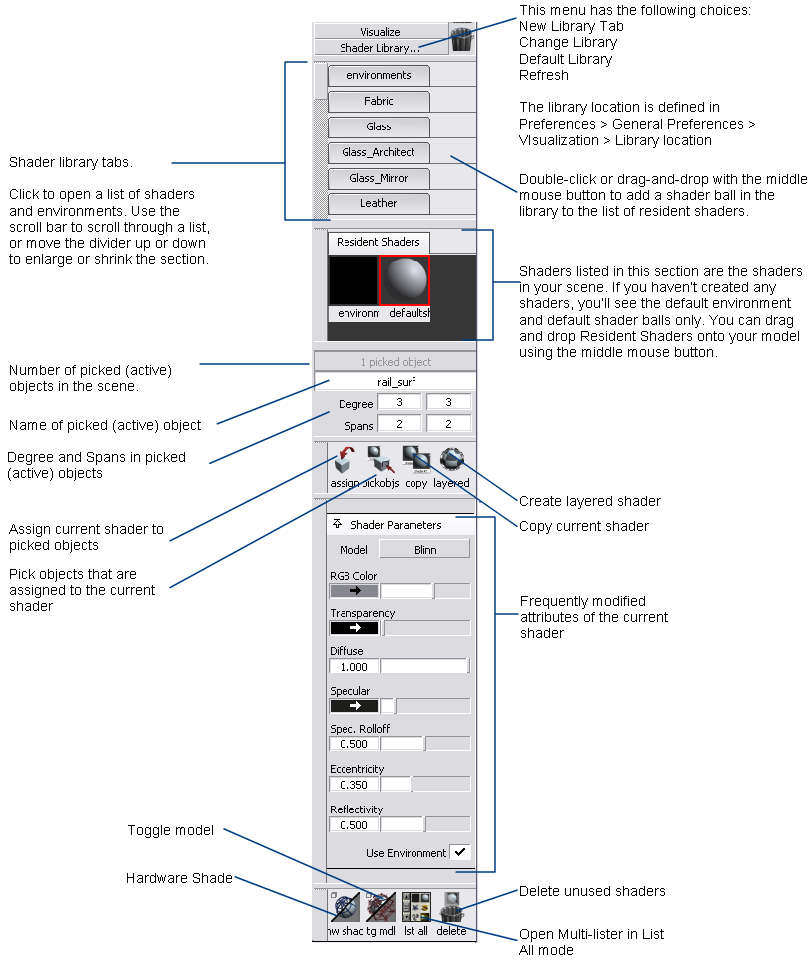
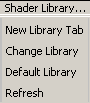
The Shader Library options let you customize the shelf sets and the shaders on the shelves. Click the Shader Library tab to display its drop-down menu. The library location is defined in Preferences > General Preferences > Visualization > Library location.
The shelf area contains shelf sets, which are sets of tools you can customize to help with your workflow. You can change the contents and number of shelf sets in this area, and compress them or expand them by clicking the tabs.

This area also lets you have more window real estate by offering a compact alternative to the main shelf window. For example, you can put all the symmetry tools in the shelf set area and then close the main shelf window for a larger view of your model.
The visualization panel default shelves include:
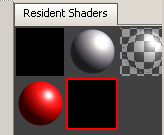
Shaders determine what surfaces look like (for example, color, reflectivity, roughness). Once you create a shader, you can assign it to one or more surfaces. You can also layer more than one shader onto a single surface.
The shaders in resident shaders are specific to the open file, so they change from file to file. The initial defaults are a black environment shader and a gray DefaultShader. Double-click any shader in the shelf sets to add it to the Resident Shader shelf.
In order for a surface to have the properties of a shader, you must assign the shader to the surface. You can assign a single shader to several different surfaces. You can also layer several shaders onto a single surface. By default, all surfaces have the DefaultShader assigned to them.
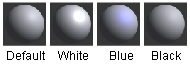
Double-click a sphere to open its Shader window. Through this window, the shader properties can be changed.
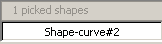
The Pick list isolates a single shape from a collection of shapes. The white text field displays the name of the picked shape.
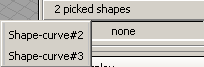
You can pick more than one shape in Alias. The gray text box tallies all picked (and active) shapes in the modeling space. To view a drop-down list of all selections, and to switch between shapes, click the gray text box.
To rename a picked shape, type the new name into the white text field.

Assigns the active shader to all picked objects. This tool allows you to shade objects or switch between shaders.
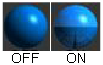
Choose an object, select a shader, and click this tool. Then choose the Toggle Shade tool at the bottom of the Vizualization Panel to apply the shader to the object.
If a shader is already assigned to an active object when you select Assign Shader, the active shader replaces it. If you assign a shader to the wrong object or overwrite an existing shader assignment, you must re-assign the original shader to the object.
Pick Objects by Current Shader

This tool picks objects on a wire frame model by the current shader. Choose a shader in Resident Shaders and click this tool to highlight where the shader is assigned to the wire frame model.

Creates a copy of the currently active shader or light. Note the following when using Copy:

Layers the active shader onto all active objects in your scene, on top of any shaders previously assigned or layered. Adjusting the transparency of the second layer ensures the first layer is seen.
The Shader Parameters options control your shader color, texture, transparency—in short, how the shader looks.
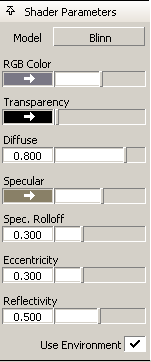
Click for a drop-down menu listing Shading Models. A shading model is a representation of how light bounces when it hits a surface. Different models simulate different types of materials.

Blinn – Provides highlights appropriate for metals
Phong – Provides highlights appropriate for plastics
Lambert – Provides highlights appropriate for matte surfaces, like plaster walls or blackboards
Light Source – Makes an object look like it is emitting light, like an incandescent bulb or flame
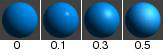
The ability of the surface to reflect its surroundings (the environment, other surfaces), or the Reflection map, if any, when viewed at oblique angles. This parameter appears only when Shading Model is BLINN. To help visualize the effect of Spec. Rolloff in the shader swatch, temporarily assign a Reflection map to the shader.
Use a Spec. Rolloff value of 0.7 to simulate a wet surface (for example, wet paint).
The ability of the surface to reflect its surroundings (the environment, other surfaces), or the Reflection map, if any. Reflectivity values for common surface materials are: car paint (0.4), glass (0.7), mirror (1), chrome (1). To help visualize the effect of Reflectivity in the shader swatch, temporarily assign a Reflection map to the shader.
The slider range is 0 (no reflections) to 1 (clear reflections).
Reflections are calculated only during raytracing.
Turn on this option to have your model reflect a background environment. Several preset cube map environments are provided in the shelf sets under environments, or you can create your own in the Multi-lister.
The reflections are applied only to shaders that have Use Environment turned on in the Multi-Lister, and a non-zero Reflectivity value.