Drag tools to a shelf with the middle mouse button.
Add a tool or menu item to a shelf

 -drag menu items and tools onto the open shelf or shelf title tab.
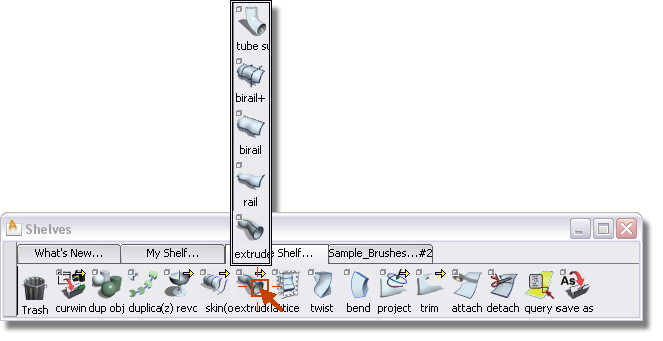
Create cascading menus on your shelves by adding tools above other tools.
A large red arrow head pointing up is displayed.

A confirm box appears, displaying a default name for the new pullout.
The new tool is placed above the existing tool.
You can easily duplicate a tool already on a shelf and change its option settings.
 (Windows) or
  (Mac) key, and use the to click and drag the tool icon to a different location on the same shelf.
While you drag, a red arrow points to the location where the duplicated tool will appear if you release the mouse. An upward arrow indicates that the tool will be added to a cascading menu.
A duplicate icon appears at the position of the red arrow.
You now have a second version of your tool using a different set of default options.


