Use invisibility mask shapes to change the display opacity of an area of an image layer in much the same way as a hide brush.
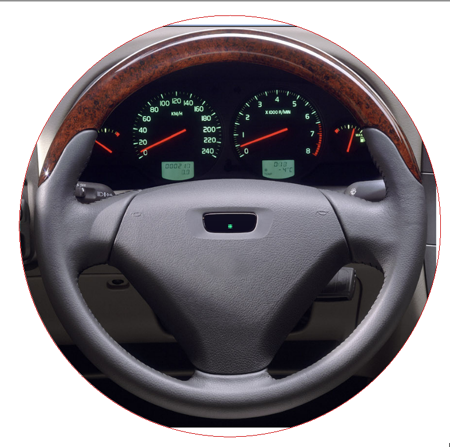
In this example we will use a circle to hide the entire image layer except the steering wheel.
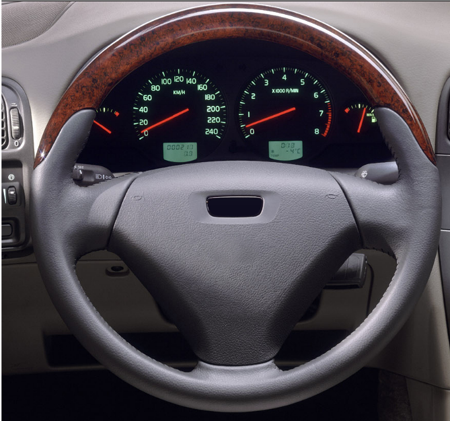
 to import the image you wish to edit, or paint on a layer. The image layer is automatically selected.
See Import an image as an image layer
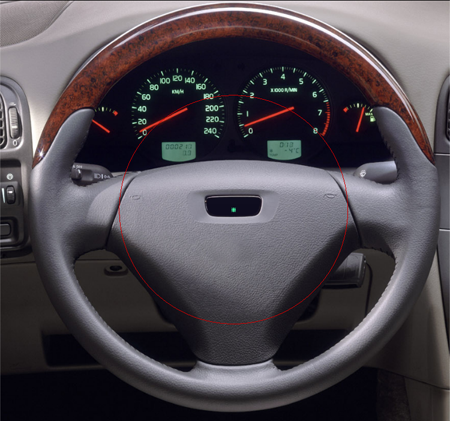
 tool from the palette, then select the circle and accept the shape. Note how the image has completely disappeared inside
the curve.
tool from the palette, then select the circle and accept the shape. Note how the image has completely disappeared inside
the curve.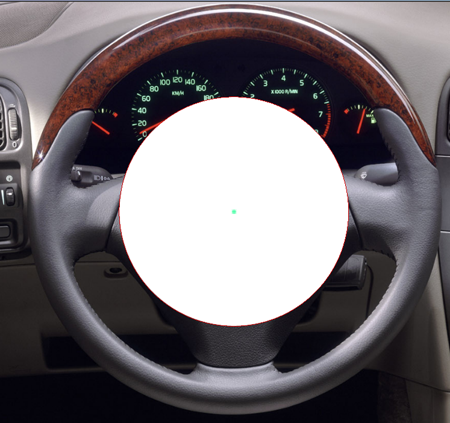
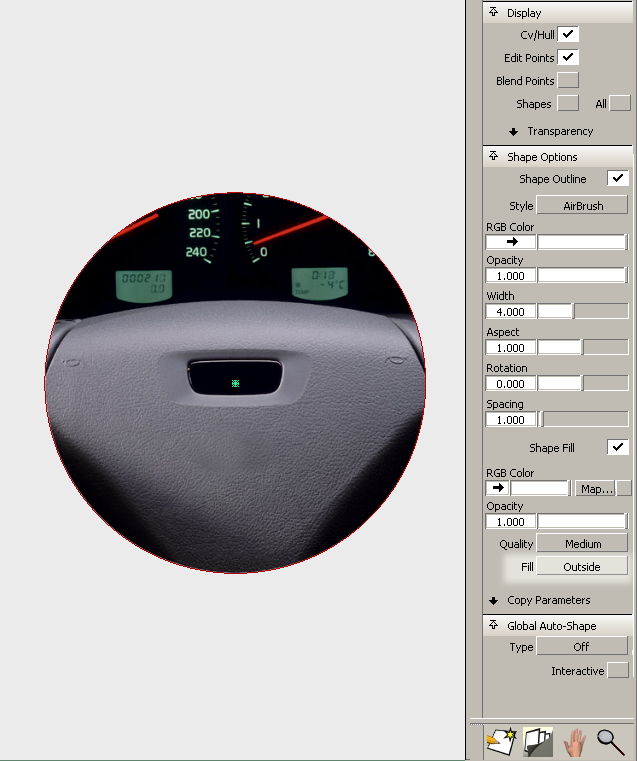
This technique provides a very fast and flexible way of hiding pixels from view and has major advantages over deleting part of an image layer. At any point, the curves can be repositioned and the layer will update to hide or show part of the image.

Invisibility mask shapes offer the same capabilities as paint shapes. Any number of curves can be used to create a shape; the shape can include holes and the fill colour can be any texture or outline. (See RGB Color option in the Paint Panel).
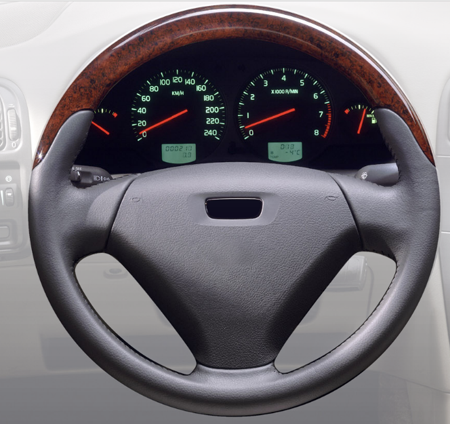
The image above was created using three curves and an invisibility mask layer where the fill texture was a gray scale ramp that provides semi-transparent pixels.


