The environment defines the appearance of your scene’s surroundings. It can be a simple colored background or a complex three-dimensional texture. The environment also defines global lighting, shader glow, and fog for your scene.
All scenes must have an environment. By default, the environment is black (giving the appearance of no environment). You can edit the default environment and save the environment for use in other scenes, or you can load an environment that you have previously saved.
Image based lighting offers additional realism through the use of high dynamic range images (HDRI) as environment maps, and the treatment of that environment map as a source of light, not just a reflection map.
Image based lighting takes reflection maps a step further into realistic rendering by replacing the standard 24-bit reflection maps with High Dynamic Range images. HDR images include more lighting data than a standard 24-bit image does. This information can be used effectively in environments to capture the bright and dark areas of the environment in not only reflections, but in the specular highlights, diffuse component, and all other components of the shader.
HDRI images are environment maps, and may be spherical (latitude/longitude maps) or cube environment maps stored as vertical cross images, which have an aspect ratio of 3:4 (width to height).
HDR images can be created using Photoshop CS2, HDRIshop, or purchased; some are available on the web, as well (try searching for “royalty-free HDR images”).
The lighting produced by an HDR image, since it has a wide range, usually needs to be “toned” to represent lighting that is suitable for the scene. This toning is calculated near the end of the rendering process, and takes the full scene into account, as well as actual lights that are used in the scene.
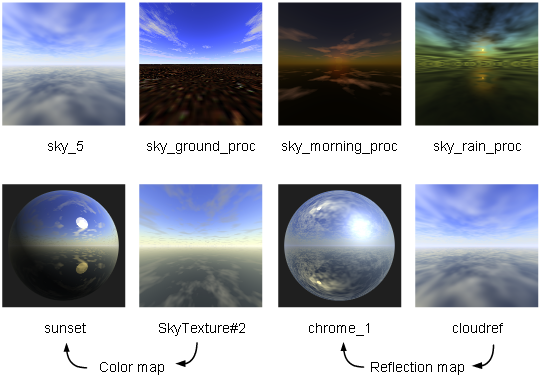
Environment textures simulate three-dimensional spaces. They can do this by using a series of image files such as Ball, Cube, or Sphere textures; or by using a computer graphic procedure such as Chrome or Sky texture. Typically, you map an environment texture to one of the following:
Environment textures map to directions. Surface textures and solid textures map to positions.
Although you can map an environment texture to other parameters, they may not give the results you expect. Do not map an environment texture to a shader’s Bump or Displacement parameter:
There are several different types of environment textures: ball, chrome, cube, sky, and sphere.
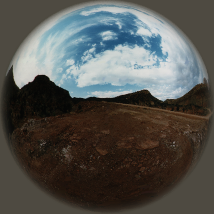
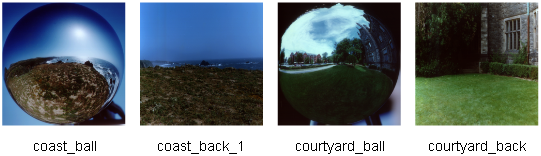
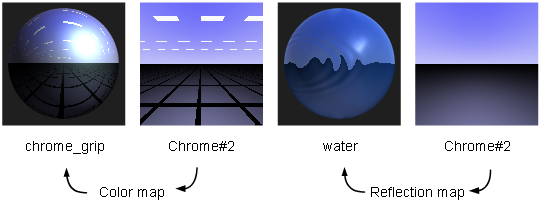
The Ball texture uses an image (or series of images) of a highly reflective chrome ball in an environment (real world or computer generated) to re-create that environment. This is possible because the reflections in the chrome ball provide a (nearly) 360 degree view of the environment.
A Ball texture background renders faster than a procedural texture background or a background modeled with surfaces. You can therefore replace a complex background with a Ball texture (by rendering an image of a chrome ball in that environment) to reduce rendering times.
In order to use the Ball environment texture, you must map the texture’s Image parameter with the image of a reflective chrome ball in the environment you want to re-create. You should also map the environment’s Backdrop parameter with the image of the environment without the chrome ball.


The Chrome texture simulates a showroom environment. The texture consists of a ground plane and a sky plane (with fluorescent style light rectangles), and provides a simple but effective environment to simulate reflections off chrome surfaces.
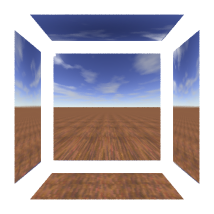
The cube environment texture simulates an environment by mapping six image files onto the inner surfaces of a cube or box. The size and shape of the texture placement object determines the size and shape of the cube or box.
To use a cube texture to simulate reflections from a real-world or CG environment, from the center of the environment in all six directions either take photographs of (real-world) or render (CG) the environment. Then map a cube texture to a shader’s Reflection parameter, and assign the six images to the cube texture. Scale and position the texture placement object so that it corresponds to the dimensions of the original environment. Assign the shader to an object in your scene and render (raycast). The object appears to reflect the original environment accurately.
One of the advantages of the cube environment texture is that you can blur it without increasing rendering time.