Set up a Transformer Rig


To set up a basic transformer rig, start by clicking the Transformer Rig icon to open the Transformer Rig toolbox.

First, the Transformer Rig expects you to specify the initial set of target geometry.

  1. Pick all the geometry that should be modified, and ensure that geometry that shouldn’t change is not included.

    When you're satisfied with your selection, click Accept Targets.

    Remember: you can always add to or remove from the target geometry set later.

  2. In a Transformer Rig, there must be at least one modifier geometry. You are prompted to:
    Press [Free] and [Predefined] to add modifiers!
    
  3. Click the modifier icon (either Add Free Modifiers or Add Predefined Modifiers) that suits your needs; for more information about the tools in the Transformer Rig toolbox, see Object Edit > Dynamic Shape Modeling > Transformer Rig.
  4. Select the geometry that will serve as a modifier.
  5. Click Accept Modifiers when you are satisfied with your selection of modifier geometry.
  6. After you have selected geometry to serve as a modifier, the prompt line changes to:
    Press [Flexible] and [Rigid] to add geometry to transform, [Free] and [Pre-Defined] to add modifier geometry, [Constraints] to add constraint geometry, and [Go] to finish.
    
  7. Next, add geometry that will constrain the changes to the model. Click the Add Constraints icon.

    At this point, you may want to edit the pick mask before selecting curves to use as constraints.

    Instead of using the Marking Menu, click on the Show Pick Mask icon to open the Transformer Rig Pick Mask: Add Target Mode window to modify the pick mask.

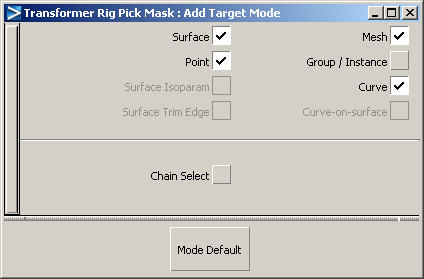
    You may want to turn off options for entity types that you don’t want to accidentally pick.

  8. Close the window.
  9. Click or click-drag to select the constraint geometry.
  10. Click Accept Constraints when you are satisfied with your selection.
  11. To finish, click Go.

    The following confirm box appears:

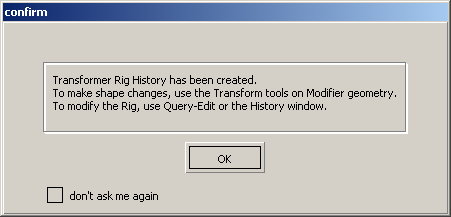
    This message reminds you that the Transformer Rig has been set up and is ready to use with the rest of Alias.

  12. Click OK to close the window.