Creates a fillet curve between two existing curves.
To create a fillet with a specific radius
 ❒ from the Palette.
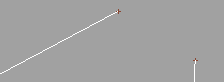
If the two curves intersect, click the segment of the first curve that you want to create a fillet for. If Trim Curves is on, click the segment of the first curve that you want to keep.
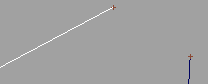
If the two curves intersect, click the segment of the second curve that you want to create a fillet for. If Trim Curves is on, click the segment of the second curve that you want to keep.
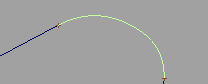
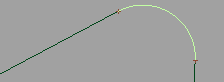
Alias displays a preview of the fillet.

If the current radius is too small or too large to build a fillet near the point you clicked, the Fillet Curves tool reports an error. Type a new radius and try again.
If you do not want to create the fillet, select Pick > Nothing .
.
Alias builds the fillet.
When the fillet is built, the original curves are trimmed to both ends of the fillet. To keep the curves intact, turn off the Trim Curves option.
To create a fillet between two specific points on the curves
❒ from the Palette.
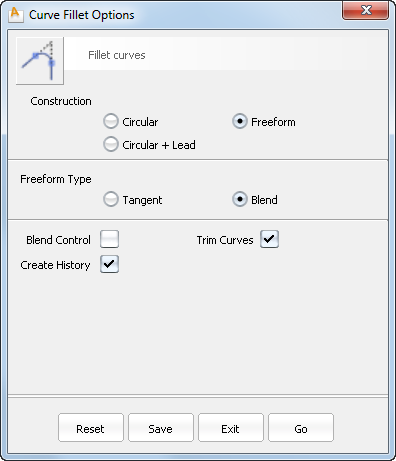

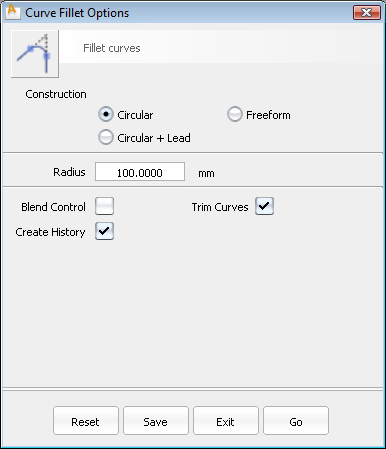
Circular – Create a circular fillet with a true radius.
Freeform – Create a fillet between two contact points.
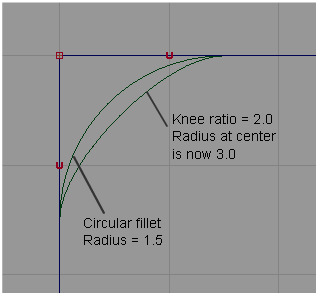
Circular + Lead – Create a circular fillet by specifying the radius where the fillet blends with the original curves (Lead Radius) and the radius at the knee of the fillet (Radius).
Tangent – Project the tangents at the two contact points, and create the fillet in the direction of the tangent intersection.
Blend – Average the positions of the two contact points to create the fillet. Blend fillets sometimes have an inflection and tend to be shallower than Tangent fillets.
The default radius of circular fillets. You can enter a new value at the prompt line when you use the tool.
Lead Radius – When you set the Radius value, Alias automatically updates the Lead Radius value.
Knee Ratio – When you set the Radius value, Alias automatically updates the Knee Ratio value.
The radius of the fillet where the fillet blends with the original curves.
Allows you to change the fillet type (Tangent or Blend) after it is created.
Automatically trim the original curves back to the endpoints of the fillet.
Save the Fillet curves history for later editing. If you turn on Create History, you can edit the original curves and the fillet automatically updates.