This tool allows you to adjust the tonal range
of an image by providing sliders for saturation and value. It also
lets you compare the original image with a preview image showing
the modifications as you change the slider values.
Example Workflow
- Import the image (File > Import > Canvas Image
 ) or pick the layer to be
adjusted in the Canvas Layer Editor.
- Choose Paint Edit > Color Correction > Saturation & Value
 . The active layer is loaded
into the Saturation and Value window.
Decide what tonal value to change. In this example,
we’ll increase the saturation of all the colors in the image to
make the sketch more dramatic, and then decrease the saturation
for only the midtones.
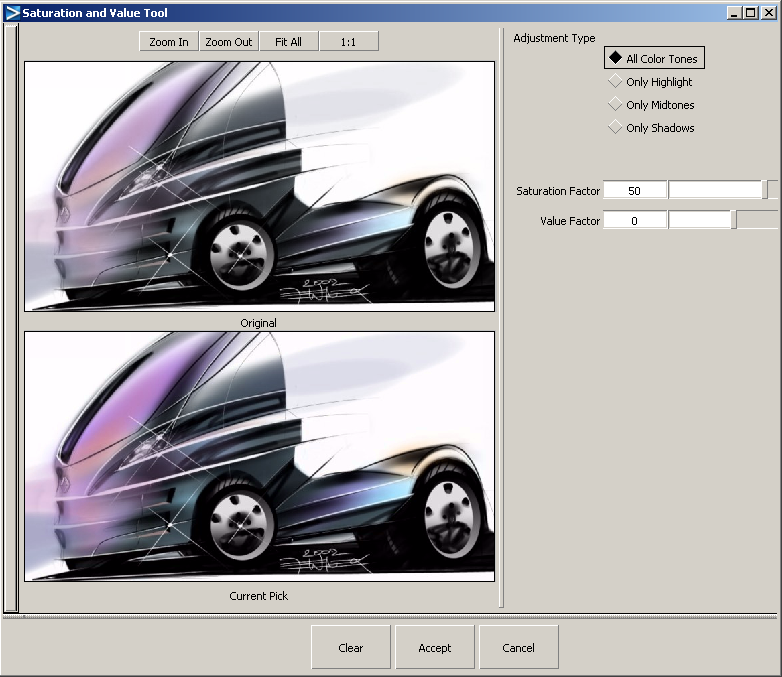
- Make sure the Adjustment Type is
set to All Color Tones.
- Increase the saturation for all color
tones by increasing the Saturation Factor until
the bottom image looks correct.
- Press the Accept button.
The changes are applied
to the layer and the Saturation and Value window
closes.
- Choose Paint Edit > Color Correction > Saturation & Value
 again to reopen the window.
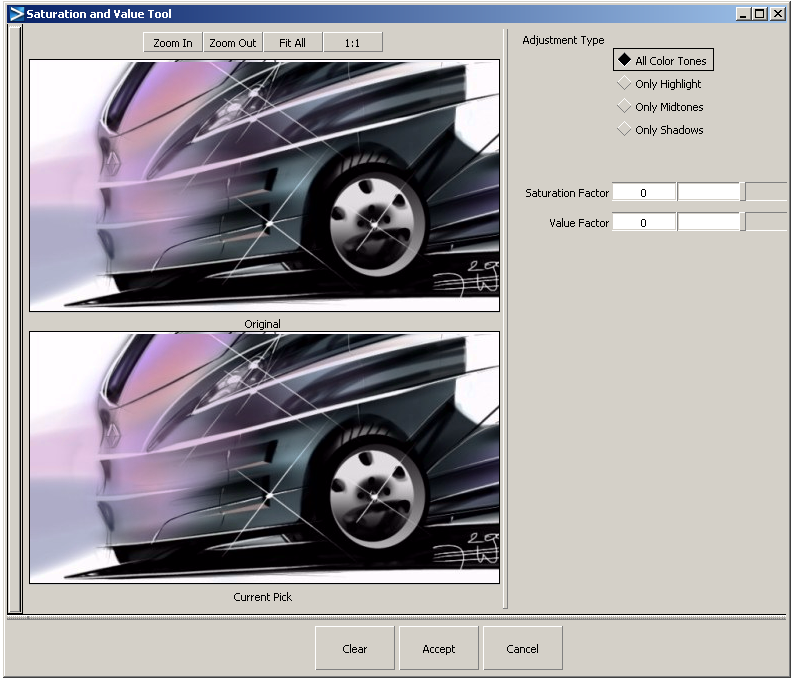
- Zoom in and pan into the area of the
image that has midtone colors (using the buttons at the top of the Saturation
and Value window).
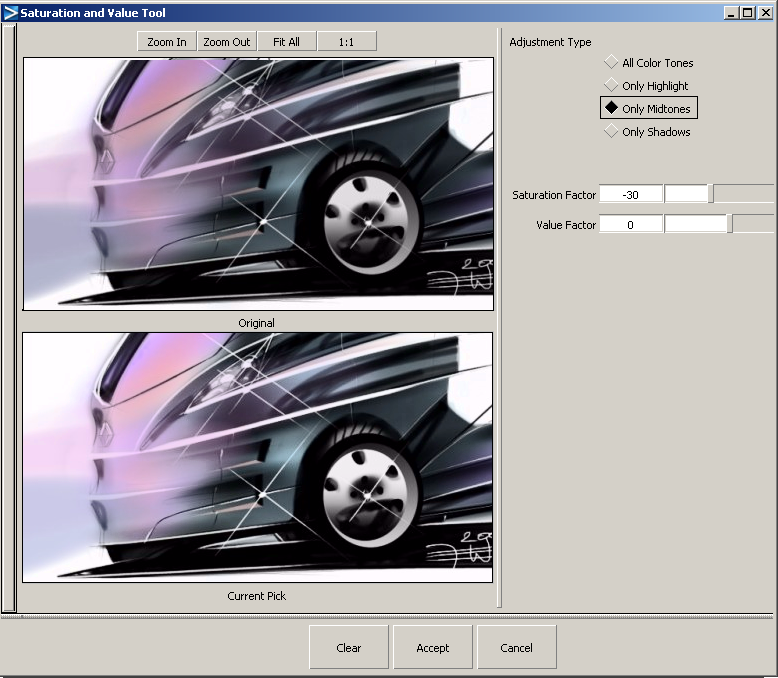
- Decrease the saturation for only the
midtone colors by changing the Adjustment Type to Only
Midtones, and decreasing the Saturation Factor until
the bottom image looks correct. (You may also lighten the midtones
by decreasing the Value Factor.)
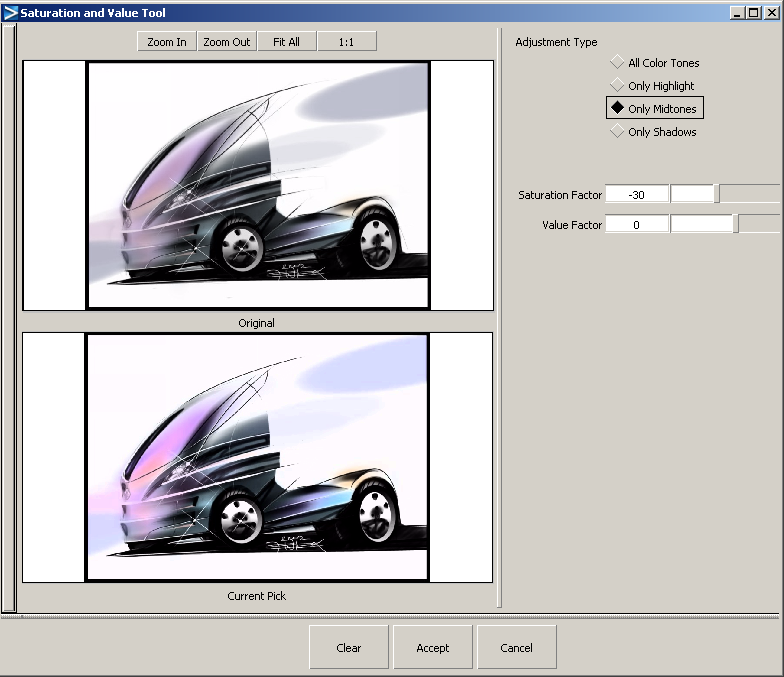
- Zoom back out to see the overall effect
of the change in the bottom image.
- Press the Accept button
at the bottom of the Saturation and Value window.
The changes are applied
to the layer and the Saturation and Value window closes.
 ) or pick the layer to be
adjusted in the Canvas Layer Editor.
 . The active layer is loaded
into the Saturation and Value window.

 again to reopen the window.


