In this section, you
will use the Hardware shade rendering to create a high quality image
that can be used for presentations or work-in-progress discussions.
Opening the tutorial file
(optional)
If you successfully completed
Part 3, proceed to the next step: Setting the Image Quality below.
If you were not successful
in part 3, open the file called Render_Basics_part4.wire,
located in the wire directory
of the CourseWare project.
This file contains the completed model from Part 3.
Watch Part
4 of the tutorial.
Setting the Image Quality
First, set the quality
of the Hardware Shade to High.
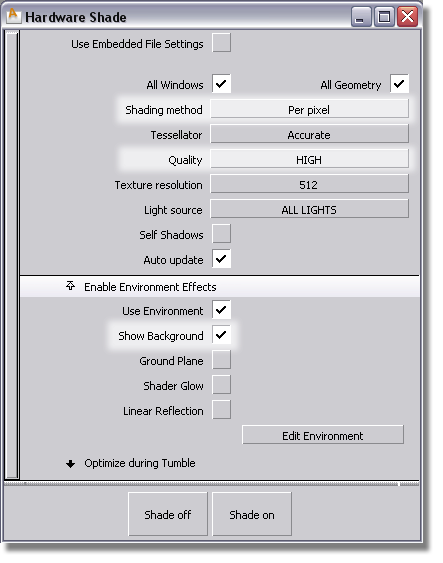
- Maximize the Perspective window.
- Choose WindowDisplay > Hardware Shade
 ❒.
❒.
- Make sure that Quality is
set to HIGH and Shading
method is set to Per pixel,
to create a high quality image.
- In the Enable Environment Effects section,
turn on Show Background.
The background color
defaults to black, which obscures the shadows.
NoteThe HIGH quality
settings may also slightly change how the lights appear on the surfaces.
You can modify the intensity or direction of the lights to adjust
the image.
Now,
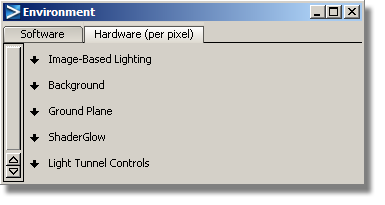
you will change the background color using the Environment shader.
- In the Enable Environment Effects section
of the Hardware Shade window, click the Edit Environment button
to open the Environment editor window.
NoteIf the
Hardware Shade window is closed, you can also go to the
Visualize
Control Panel and double-click the
Environment shader
icon to open the Environment editor window.
- In the Background section
of the Hardware tab, change the color
to white (or any other color).
The shaded view updates to the new background
color.
Adding Ground Plane Reflections
To add realism to the
image, you can add a reflection in the ground plane.
- In the Ground Plane section
of the Environment shader options,
check the Reflection option to see a
reflection of your model in the ground plane.
- Modify the Reflectivity and Reflection
Depth options to change the reflections in the view.
Exporting an Image
Now, you can set up the
view and export the image.
- Tumble the view to frame and compose
the image you want to capture.
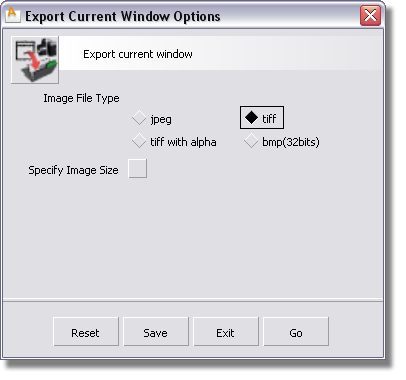
- Choose File > Export > Current Window ❒ to open the option window.
The Image
File Type defaults to .tif. You
can specify an alternative format, if necessary.
The Image
Size defaults to the screen size. You can choose an alternative
image size by choosing Specify Image Size.
- Click Go to save
the image. The File Lister appears.
- In the Object Name section
(Windows) or Save As field (Mac), type in myRender and click Save.
The image is created
and saved in the pix directory of your current
project.
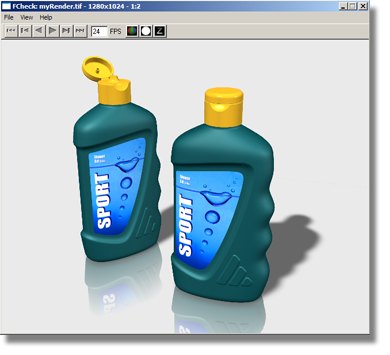
- To view the image in Alias, choose File > Show Image
 .
.
Alternatively, you can view the image using
any Windows or graphics software, or import it into your presentation
documents.
Save your work
- Save your work in the wire directory of the Lessons project.
- Name your file myRender_Basics4.wire.

 ❒.
❒.


 .
.