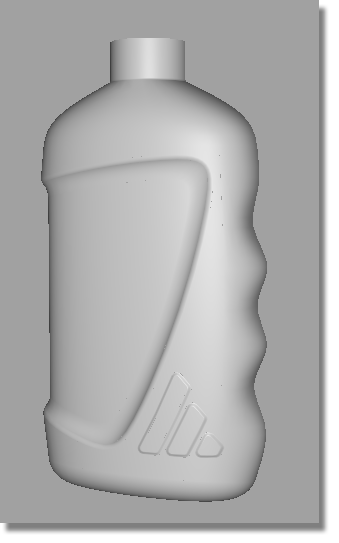
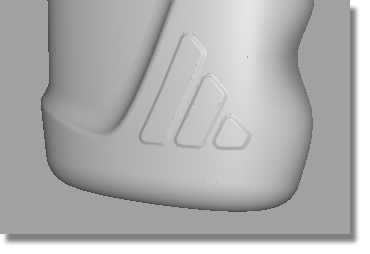
In this section, you will create an embossed logo at the base of the pack.
You will use an offset surface to create the logo surface; trimming to create the logo outline, and a Freeform Blend to join it to the main surface smoothly.

Watch Part 5 of the tutorial.
Opening the tutorial file (optional)
If you successfully completed Part 4, you can proceed directly to the next step: Trimming the Body Surfaces below.
If you were not successful in part 4, open the file called showergel_part5.wire, located in the wire directory of the CourseWare project. This file contains the completed model from Part 4.
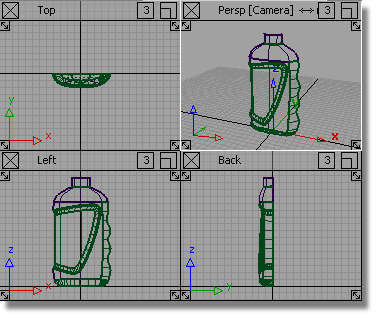
The transition surface will be created using the Freeform Blend. This tool quickly creates a tangent or curvature blend between two edges, and is particularly useful when the edges are made up of many sections.
The embossed logo surface will be created using the Offset tool.
You will start by projecting the outer logo curves onto the main surfaces.

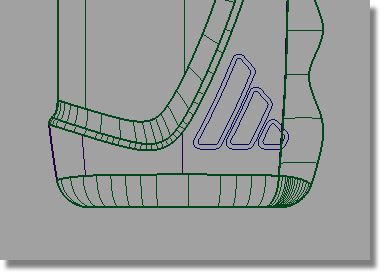
 .
.
You are prompted to select the surfaces. Select the main bottle surface and the finger grip surface.
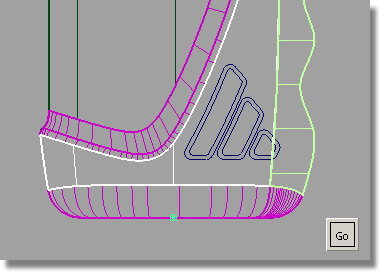
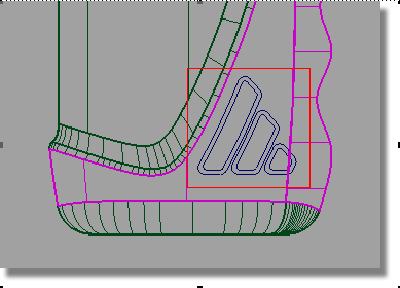
All the curves are highlighted.

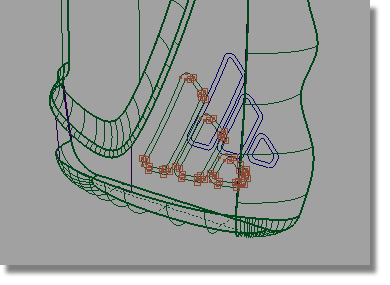
Next, you will trim away the main surfaces.
 tool. You are prompted to
select the surface to trim. Click the main bottle surface first.
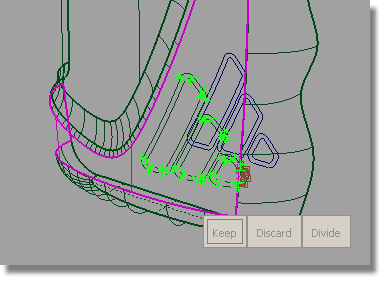

Click the Keep button to trim the surface.
The surface is trimmed to the outer curves, the inner curves are ignored.

Do the same for the finger grip surface, trimming away the small corner of the logo that crosses into the surface.
 tool and follow the prompts
to trim the finger grip surface.
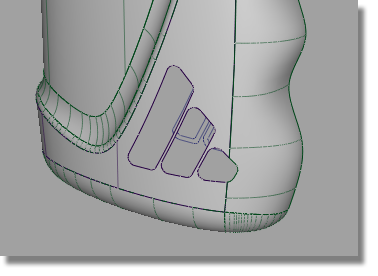
The surfaces have now been trimmed to allow the logo details to be embossed.
To create an ‘embossed’ effect, the main bottle surface will be offset by 0.5 mm, outwards from the bottle. This will then be trimmed to the inner logo curves.
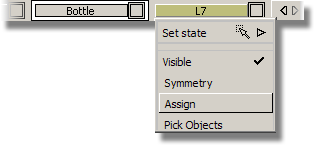
You will first create a layer for the new offset surface.
 to create a layer.
The layer will only be used to temporarily organize the model, so there is no need to re-name it.
Now, create the offset surface.
 and select the main bottle
surface.
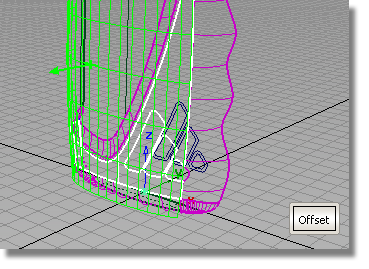
The arrow indicates the direction of the offset. It should point toward the outside of the bottle. If it does not, click on it to reverse its direction.

 and you will see the new
surface is already highlighted.
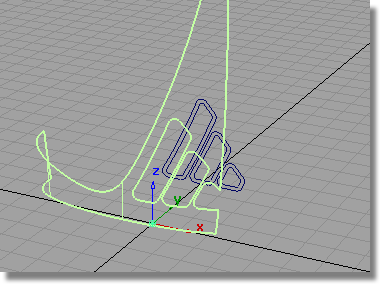
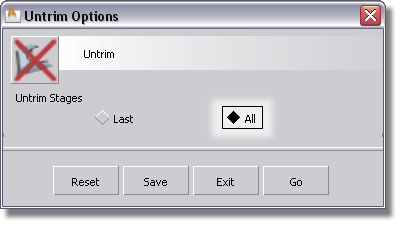
When the surface was offset, the curves-on-surface and trims were offset with it. As you don’t want these, you will un-trim the surface and remove the curves-on-surface.
 . Double-click the icon to
open the option window.
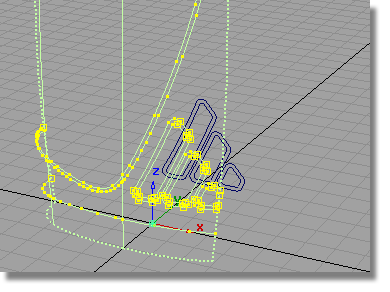
 and drag a pick box over
all the curves-on-surface to select them.
 key to delete the curves-on-surface.
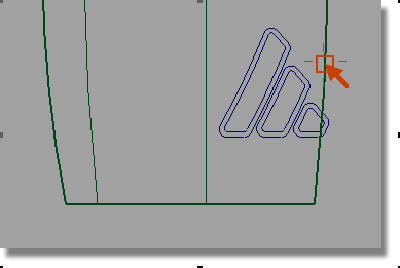
You will use the Extend tool interactively, to extend the surface a small amount by eye.
 and click the edge shown.
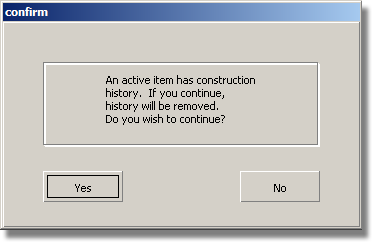
You will be asked if you want to remove the construction history
– answer Yes.
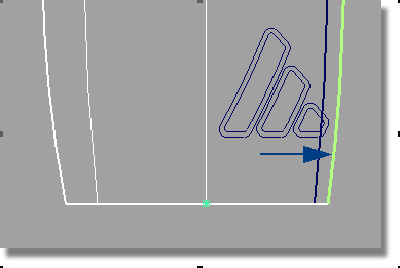
 to extend the surface just
beyond the inner logo curves.
Now, you will project the curves onto the offset surface, so it can be trimmed to the inner logo shapes.
 .
.
When prompted to select the surfaces, select the offset surface and click Go.

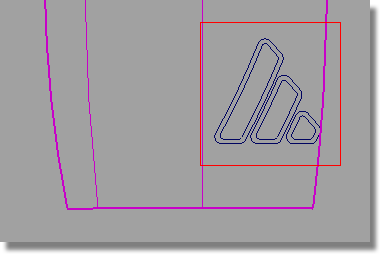

Next, you will trim the offset so that only the three inner shapes remain.
 tool and click the offset
surface when prompted.
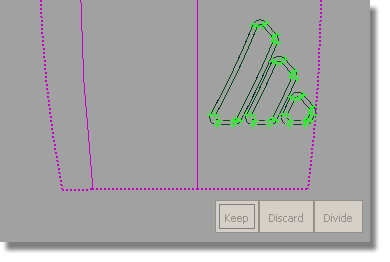
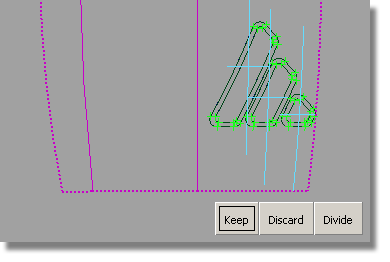
The surface is trimmed into the three parts of the logo.

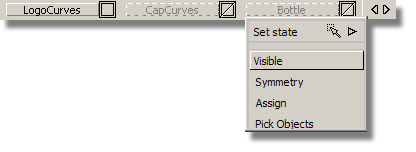
Now is a good time to tidy up the layers.
 and select the offset surface.

The surface disappears from the screen because it has been placed on an invisible layer.

 .
.
Creating the Freeform Blend Surfaces
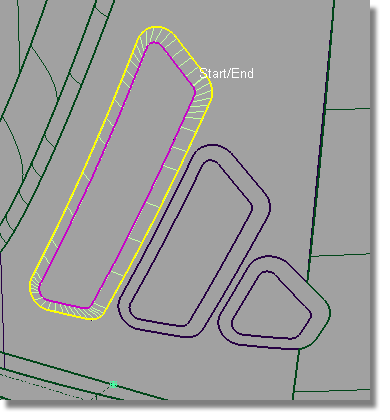
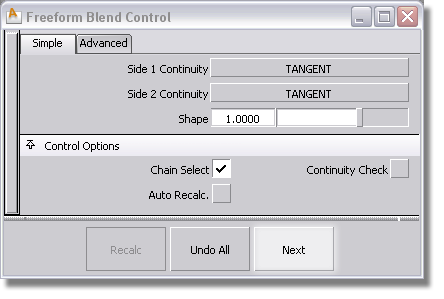
To give a smooth ‘embossed’ edge to the logo, you will use the Freeform Blend tool to blend from the outer to the inner shapes.
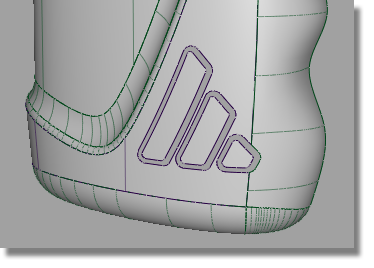
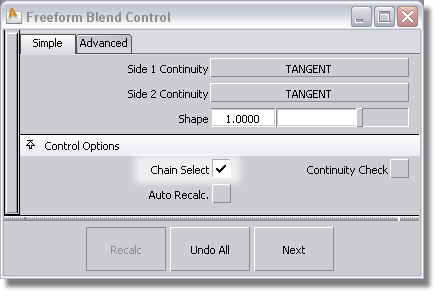
Next, you will create the freeform blend surface. As the logo shapes were made up of many curves, you can use the Chain Select option to select the whole edge.
 , and double-click the icon to
open the option window.

The whole edge is selected and highlighted in pink.
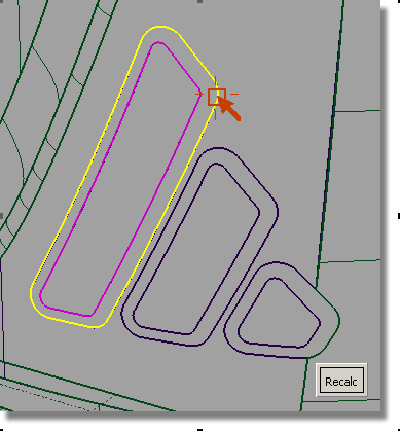
The edge is selected and highlighted in yellow.
