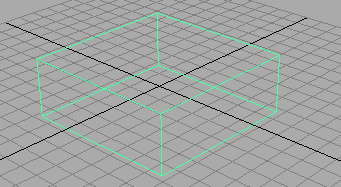
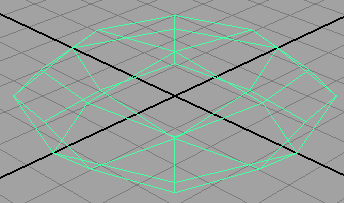
You begin the lesson by creating a polygonal cube. You’ll convert this cube to a subdivision surface that will be the foundation of the hand. The reason for starting with a polygonal surface and converting it to a subdivision surface is that you can thereafter edit the object’s shape with more versatility: you can edit with subdivision surface tools and polygonal tools.
 . In the options window, select Edit > Reset Settings. Then enter the following values and click the Create button.
 The resulting polygonal cube is roughly proportional to the palm of a hand.

To convert a polygonal cube to a subdivision surface


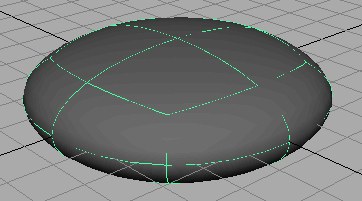
With the smoothness set to Fine, you can see that the conversion to a subdivision surface creates a rounded, smooth shape. By pressing 3, the subdivision surface is displayed more precisely in the scene view. This gives a closer approximation of what the surface will look like when you create a rendered image of the scene.
As an alternative, you could have chosen a Rough smoothness (press 1) so that Maya processes your editing changes in the scene view more quickly. Regardless of the smoothness in the scene view, surfaces always are displayed precisely in rendered images of the scene.
To display a subdivision surface in polygon proxy mode

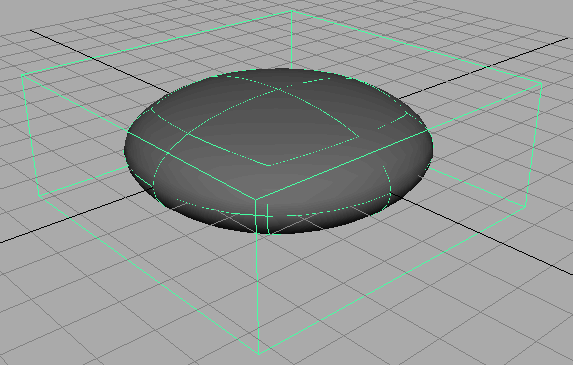
The wireframe cube looks the same as the original polygonal cube. The new cube is called a polyToSubd1 for the subdivision surface as a result of the conversion. Rename it LeftHand. You can use polygonal modeling tools to edit the shape of the polygonal proxy, which indirectly alters the shape of the subdivision surface. Unlike working with an actual polygonal object, your modifications result in perfectly smooth surface changes rather than faceted changes.