Maya has many types of lights that simulate natural and artificial lighting. In the next steps, you create a light for the
scene using a directional light. A directional light uses parallel rays of light, as if illuminating from a very far distance, to illuminate the scene. A
directional light is often used to simulate sunlight.
To create a directional light
- Select >
 .
.
- Turn off , then click .
A directional light is created at the center of the scene.
Because a directional light is similar to sunlight. Its parallel rays strike all objects in the scene from a single direction
as indicated by the arrow icon representing the light. The position of the light is not so much important as the direction
that the arrow icon points.
When you create a light, the scene view does not display its effect, by default. The scene view instead uses default lighting.
- Select (Hotkey: 7). This lights up the scene view only with lights you’ve created, not with default lighting. If you later want
to see the scene view with default lighting again, select (Hotkey: 6).
When you render the scene, by default, Maya uses all lights you’ve created. If you don’t create any lights, Maya creates a
temporary default directional light for you and then deletes it when the render is complete.
Next, you aim the directional light and edit its attributes.
To edit the directional light
- With the directional light selected, rotate the light in various directions. The shading of surfaces changes as you rotate
the light. The more directly the light points at a surface, the brighter the shading. A directional light is affected by its
rotation, not its position. As you’ll see later, the position of other lights affects the lighting.
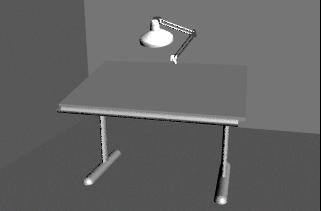
- Rotate the light as follows:
With this orientation, all object surfaces in the scene show the effect of the light in the current camera view.
- With the light still selected, open the (under the menu). Drag the slider to various values to see the effects of intensity.
Higher values brighten the surfaces. For example, an Intensity of 1.6 brightens the lighting so much that the gray default
shading of some surfaces are bleached to white.
Note
Several of the following illustrations in this lesson are snapshots of the scene after rendering. To render the scene, select
. Do not use IPR rendering for this lesson because it doesn’t automatically update the image for some of the changes you make
to the scene.
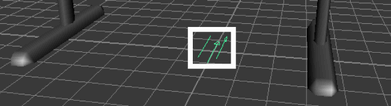
- In the , click the white box above the box. This displays the .
- Click inside the color wheel (hexagon) and drag the pointer to a red color.
The lighting imparts a red hue to the surfaces in the scene.
Move your mouse off the to exit.
- Change the color back to white and set the to 1.2 or so.
You’ll use these settings for the basic lighting of the scene.