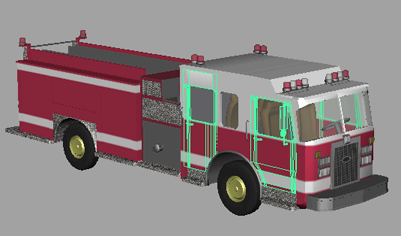
Now that the fire truck is encapsulated, you can publish attributes from the individual pieces to make them available at the asset level.
A published attribute on an asset is bound to an attribute of the object inside. When a user changes the published attribute’s value, the value of the corresponding internal attribute is changed as well. You can choose to publish all or only a subset of the available internal attributes, allowing you to limit how much access a user has to the encapsulated object.
The published attributes of an asset are often referred to as the asset’s interface, and is useful because it allows you access to every important control for your asset in a single place.
 next to it’s name.
 .
.
 +
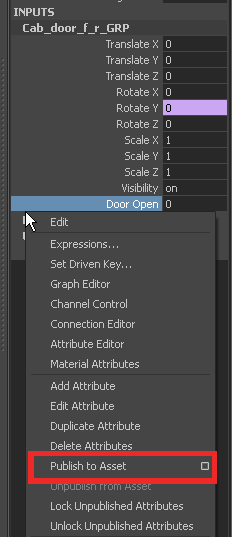
+  -click the label and select Publish to Asset >
  from the marking-menu.
The name Front Right Door represents the published name for this attribute and represents the door’s rotation in the fire truck asset’s interface.
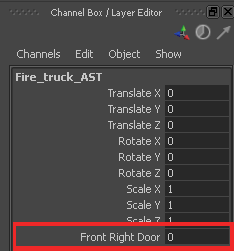
The Front Right Door attribute now appears in the Fire_truck_AST section of the Channel Box.

Now, in the Attribute Editor or Channel Box you can input values into the Front Right Door field to open and close the door. Notice that as you change the value, the value of door_open under Cab_door_f_r_GRP changes to match. This is because your published name (Front_Right_door) is bound to the Rotate Y attribute of Cab_door_f_r_GRP. When one changes, both are updated.
| Node Name | Published name |
|---|---|
| Cab_door_f_l_GRP | Front_Left_Door |
| Cab_door_r_r_GRP | Rear_Right_Door |
| Cab_door_r_l_GRP | Rear_Left_Door |
The Door Open attribute for each door is a custom attribute that controls the Y rotation of each door. Although you could publish the rotate Y attribute of each door directly, these custom attributes are provided so that each door opens as the value increases from 0 to 1. Without these attributes, some doors would open as their rotation increases and others would open as their rotation decreases.
You will learn how to create a custom attribute in the next section.