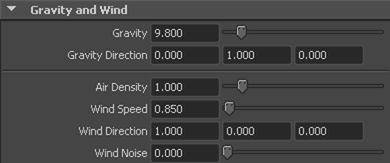
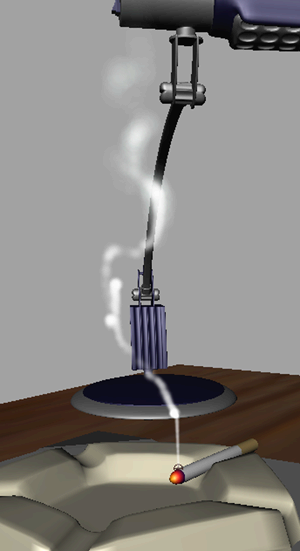
With nParticles, you can use dynamic wind generated by the Maya Nucleus solver to affect the motion of your particles. Gravity and Wind forces generated by the Nucleus system are different from the Maya dynamic forces that you create with Maya Fields. Nucleus forces are internal, meaning that they only affect Nucleus objects. Nucleus object that are assigned to the same Nucleus solver are affected by the same intensity of the solver’s wind and gravity.
In this section of this lesson, you create an Axial Magnitude ramp to control the field’s magnitude at various points in the field volume. You specify that the field’s magnitude gradually increases from the bottom of the volume to its top, so that as the nParticles travel through the field volume, the field’s influence on the nParticles increases. To finish the smoke simulation, you use the Nucleus Wind to make the smoke drift as it rises.
If you had other Nucleus objects (nCloth objects or other nParticle objects) assigned to the same Nucleus solver, they would also be affected by the force of the wind.
To create an Axial Magnitude ramp
| Marker | Selected Position | Selected Value | Interpolation |
|---|---|---|---|
| 1 | 0.055 | 0.520 | Linear |
| 2 | 0.315 | 0.900 | Linear |
| 3 | 0.961 | 1.0 | Linear |

To add Nucleus Wind in your simulation.
Wind Speed determines the force and intensity of the wind. A higher value means a faster wind speed, which has more of an effect on the smoke.


To make the smoke simulation more realistic, you can set up your effect so that the cigarette smoke is rising in the first frame of the simulation. You do this by setting the nParticle object’s initial state.
To set the nParticle Object’s initial state