


Lesson 2: Set muscle pose states

This lesson shows you how to first set up the muscle’s pose states, then how to refine its length and overall shape in each respective state.
Although it is best to set the pose states before you begin sculpting your muscles, you can edit them at any point in your creation process.
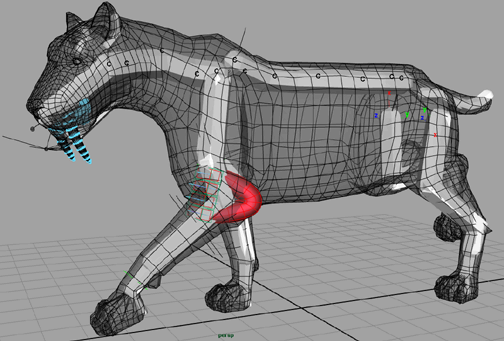
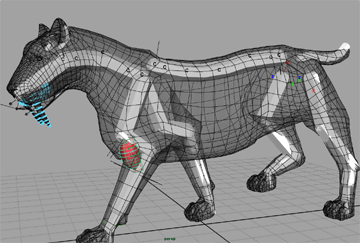
Notice the exaggerated deformation of the front leg muscle due to some jiggling behavior. By default, all muscles contain a certain amount of jiggle. In this case, you will remove this jiggle to better visualize the muscle’s different pose states.
These are the cross section controls that store the jiggle settings.

Without jiggling, the muscle now behaves more realistically, which makes it easier to set the three main pose states.
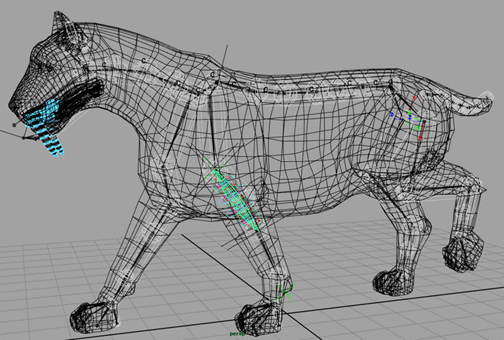
The Edit tab contains controls that let you shape and fine tune your muscle surfaces in the different pose states.
Although you might not see a visual difference, the muscle’s rest state has been set.

Click Stretch. As a result of this state being set, the muscle surface thins out.
At this point, the humerus and leg joints are almost parallel, indicating a good muscle stretch.
The muscle surface’s volume expands a little to compensate for its new set state.
This is the point where the humerus is almost perpendicular to the leg joints, indicating a good muscle squash.
Now that you have removed the jiggle from the muscle to better set its pose states, you can put the jiggle back in. You can now clearly see the front leg muscle bulge and stretch as you scrub though the animation.
In this lesson you learned about setting your muscle’s pose states. A completed file for this lesson, Sabertooth_Set_Muscle_State_End.mb. Now you are ready to adjust the muscle’s attach points locators, as well as edit its length and shape.