Learning Resources > Tutorials > Getting Started with Maya Unlimited > Live > Lesson 2: Solving with survey data >
Creating a Plane constraint
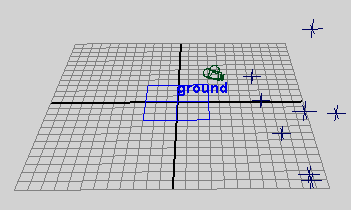
In addition to the space between locators, you may want them to be repositioned within the scene. For example, you may want the flower locators in the solution to rest on top of the perspective view grid, just as the flowers in the shot rest on the ground. In the current solution, the flower locators rest below the grid.

A convenient way to bring points onto the grid is to use a Plane constraint, which aligns locators onto a plane.
To create a Plane constraint for the ground
In the shot, these points correspond to points on the ground.