


nCloth Shirt

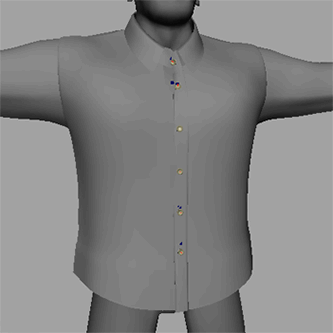
This example will show you how to use nCloth to simulate a buttoned shirt.
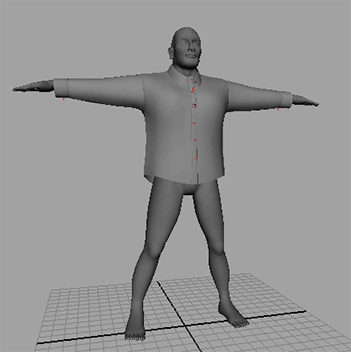
The goal of this example is to button the two flaps of the shirt together rather than let them hang loose.
The buttons change to a wireframe display. If you click on them you will be unable to select them. This will be helpful when you need to select specific vertices when buttoning the shirt together.
To button the two sides of the shirt together
 -click
the shirt and select Vertex from the marking menu
that appears.
-click
the shirt and select Vertex from the marking menu
that appears.
 -click
the nearest vertex on the flap underneath to include it in the selection.
-click
the nearest vertex on the flap underneath to include it in the selection.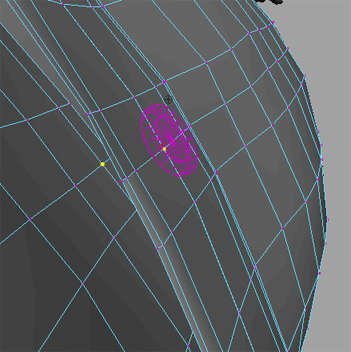
Maya automatically plays back the nCloth simulation and saves it to disk as a cache.
The shirt now falls loosely over the body, but the two flaps remain fastened to one another at the button which you constrained.
 to delete
the constraint.
-click
the shirt and select Vertex from the marking menu
that appears.
-click
each vertex underneath each button as well as each respective closest
vertex on the flap underneath just as you did for the third button
in steps 3 and 4.
to delete
the constraint.
-click
the shirt and select Vertex from the marking menu
that appears.
-click
each vertex underneath each button as well as each respective closest
vertex on the flap underneath just as you did for the third button
in steps 3 and 4.
Maya automatically plays back the nCloth simulation and saves it to disk as a cache.
The two shirt flaps remain together at each button.
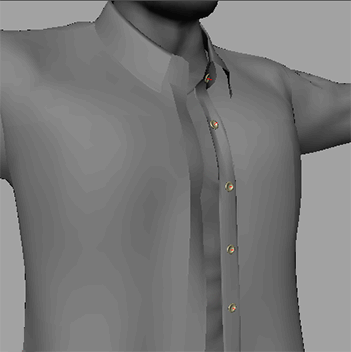
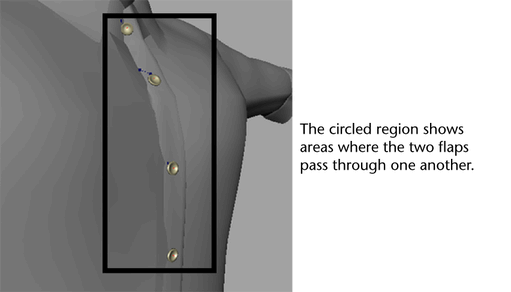
While the shirt is now buttoned together, you will notice that the overall look of the cloth is still not correct. The cloth appears to stretch too much and at some points and the two flaps pass through one another. You now need to make some adjustments to fix this.
To enhance the appearance of the nCloth shirt
Maya automatically plays back the nCloth simulation and saves it to disk as a cache.
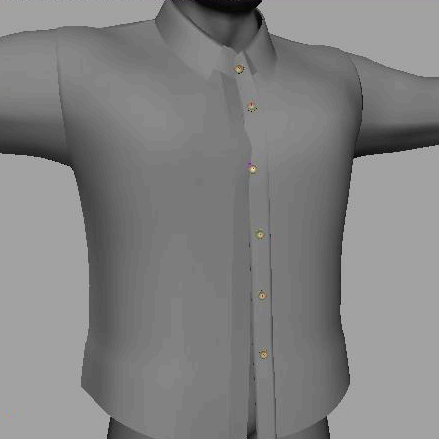
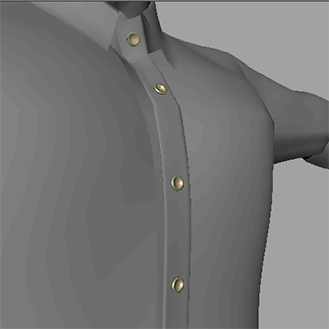
The two flaps of the shirt now collide with one another correctly without passing through each other.
Painting the shirt’s properties
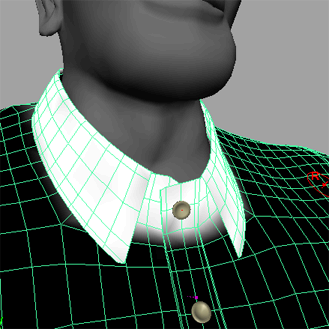
You may notice that although the collisions are now correct, some parts of the shirt still do not react like real cloth would. Most notably, the collar and cuffs appear too loose, where on a real shirt they would be stiff. You can fix this by painting vertex properties.
To stiffen the collar and front flap
The entire shirt is flooded black indicating no attraction to the input mesh.

Maya automatically plays back the nCloth simulation and saves it to disk as a cache.
The collar now remains completely stiff, and the cuffs hang slightly, yet maintain their shape.
Improve the appearance of the shirt
To smooth the look of the shirt
Maya automatically plays back the nCloth simulation and saves it to disk as a cache.
