The skeleton to which you attach a skin using Physique can be a 3ds Max hierarchy, bones in a hierarchy, bones not in a hierarchy, or splines. Physique deforms the skin based on the relative position of the bone or links in the hierarchy. Specifically, it uses the length of each link and the angle between two connected links; it can also use the scale of a link.
The skeleton hierarchy can also be a 3ds Max system object that defines a behavior as well as a hierarchy. There are two kinds of objects that are especially useful with Physique:
 You create bones using the Systems object category on the Create panel.
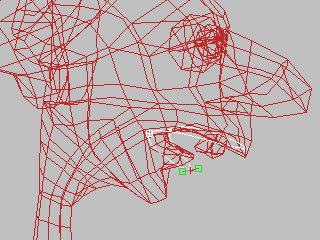
Bones are useful for facial animation, a face with moving lips for example, or for non-bipedal characters.
Usually you create the Physique skin before you create the skeleton, because you must adapt the skeleton's dimensions to the dimensions of the skin, in order to optimize vertex assignment to the links in the hierarchy.

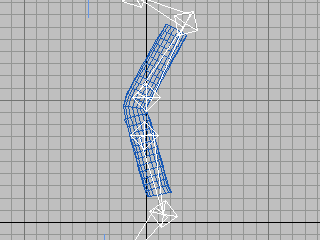
This Physique hierarchy is created with dummy objects linked to each other.
Floating bones are bones that are not linked together and know nothing about each other. By adding floating bones to Physique, you can deform the mesh by animating the bones. This is in contrast to using Attach To Node and clicking the root of a hierarchy, like the biped pelvis. For Attach To Node to work all the bones should be linked together.
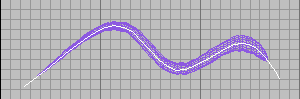
Spline-Based Physique Deformation
In addition to the biped and 3ds Max bones, Physique supports spline and NURBS curves for mesh deformation. By animating vertices on a spline, you can animate the mesh. You can use this technique for facial animation or to deform any mesh.
 Select the mesh and apply the Physique modifier.

 move the spline vertices to animate the mesh.