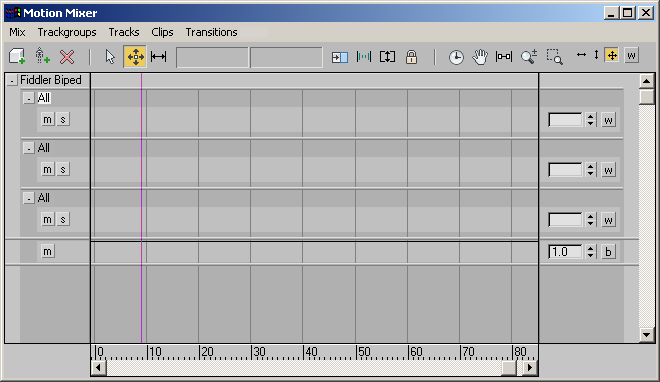
Each track in the Motion Mixer is part of a trackgroup. Each trackgroup can be filtered so it uses motions from one set of body parts and not another. For example, you might want to use the arm motions from one motion file with the legs from another. For this purpose, you would need two separate trackgroups.
There are two steps involved in filtering with trackgroups:


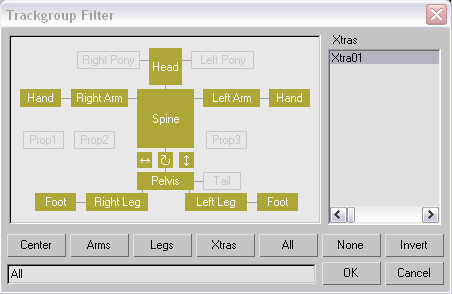
The Trackgroup Filter dialog for biped objects.

The Trackgroup Filter dialog for non-biped objects.
When a trackgroup is created, it is given one Layer track by default. However, you can add more tracks to each trackgroup, making it possible to mix motions for each set of body parts. For example, you could create a trackgroup for the arms, and have two tracks within this trackgroup. Then you could put two completely different sets of motions on each track, and use weighting to use one track or the other at different times during the motion. See Adjusting Track Weight.

Trackgroups for Spine, Legs and Arms. The Arms trackgroup has two tracks.
To add a new trackgroup for the biped:

3ds Max adds a new trackgroup and Layer track above or below the existing trackgroups. You can add more tracks to the trackgroup by right-clicking the existing track and choosing one of the options from the pop-up menu.
To filter and name a trackgroup:
 Filter.
3ds Max opens the Trackgroup Filter dialog. By default, all body parts are selected.


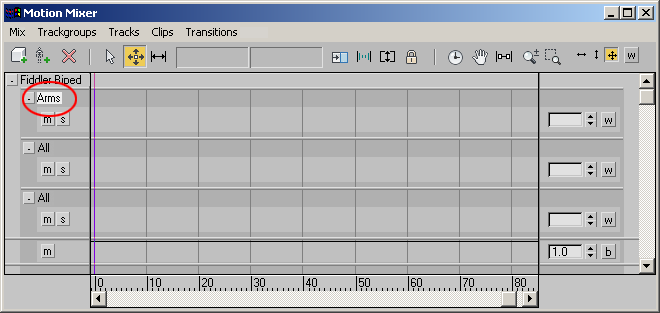
The new trackgroup name appears at the upper left of the track display.
