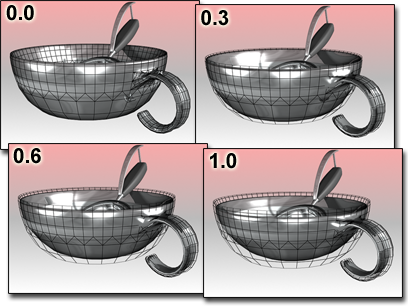
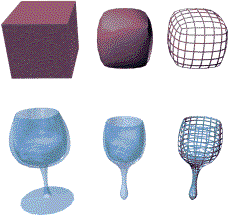
The Relax modifier changes the apparent surface tension in a mesh by moving vertices closer to, or away from, their neighbors. The typical result is that the object gets smoother and a little smaller as the vertices move toward an averaged center point. You can see the most pronounced effects on objects with sharp corners and edges.

Relax moves the bowl away from its original contours.
When you apply Relax, each vertex is moved toward the average position of its neighboring vertices. A neighboring vertex is one that shares a visible edge with the current vertex.

Original objects compared to relaxed objects
As of version 4, a patch object coming up the modifier stack is not converted to a mesh by this modifier. A patch object input to the Relax modifier retains its patch definition. If a file created by a previous version of 3ds Max contains a patch object applied with the Relax modifier, it will be converted to a mesh to maintain backward compatibility.

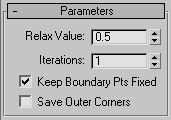
Controls how far a vertex moves for each iteration. The value specifies a percentage of the distance from the original location of a vertex to the average location of its neighbors. Range=-1.0 to 1.0. Default=0.5.

Relax Values=1.0, 0.0, -1.0
Iterations=1 (default)
Sets how many times to repeat the Relax process. For each iteration, average locations are recalculated and the Relax Value is reapplied to every vertex. Default=1.

Iterations=0, 10, 50
Relax Value=0.5 (default)

Iterations=0,1, 5
Relax Value=-0.5
Controls whether vertices at the edges of open meshes are moved. Default=on.
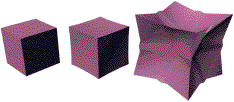
When Keep Boundary Pts Fixed is on, boundary vertices do not move while the rest of the object is relaxed. This option is particularly useful when working with multiple objects, or multiple elements within a single object, that share open edges.
When this check box is off, all vertices of the object are relaxed.

Keep Boundary Pts Fixed=on
Iterations=0, 10, 50

Keep Boundary Pts Fixed=off
Iterations=0, 10, 50