A character mesh for deforming by a skeletal structure is called a skin. In character studio, Physique is a modifier you apply to a skin to make it deformable by biped or other skeletal structure. The following images show meshes for different skeletons.
A skin used with Physique can be any 3ds Max object that has vertices or control points. Specifically, a skin can be:
Geometric primitives are useful mainly for simple applications of Physique; for example, a cylinder with two bone links to depict an arm.
You can create a figure’s skin out of several objects. For example, you could have separate objects for the torso, legs and arms. In this case, select all the objects and apply Physique to all of them at once.
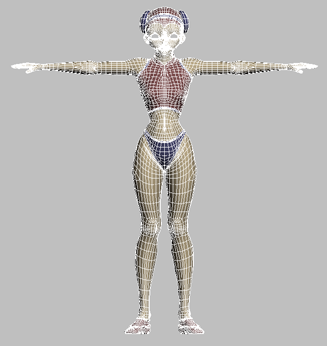
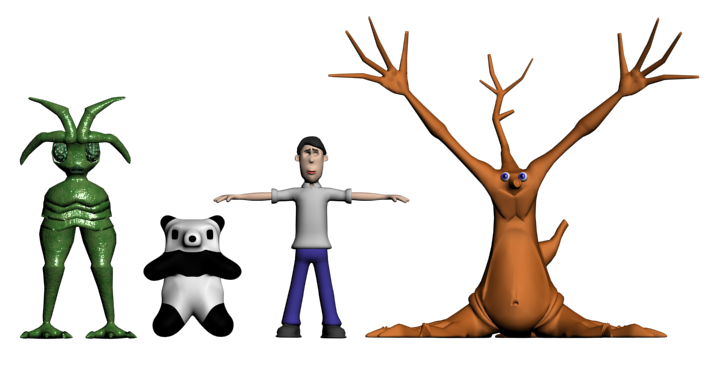
When you create a skin to use with a biped figure, you should pose the arms and legs of the skin in a standard reference pose.
Mesh in reference pose for use with bipeds
Use the following positions when you create the reference pose:
As a general rule, create a reference pose that has the limbs outstretched, but otherwise represents the character's natural at-rest posture.
The degree of detail on the model makes a difference in how well it works for skinning. On one hand, your skin must have a sufficient number of vertices so Physique can deform it smoothly. On the other hand, the fewer vertices the mesh has, the easier it will be for you to adjust Physique for the mesh. In addition, a highly complex mesh can slow your system's performance when working with Physique.
If you plan to use an Editable Poly mesh, create the mesh with evenly sized, rectangular polygons. Avoid using long, triangular polygons, as these do not deform smoothly with Physique. These attributes are particularly important around the hip and shoulder areas.

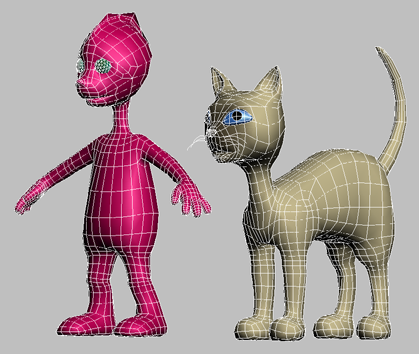
Models with evenly-sized rectangular polygons
A common workflow is to create the simplest possible version of the mesh, apply Physique to it, and apply the MeshSmooth modifier above Physique on the stack. This makes Physique as easy as possible to work with, but retains mesh smoothness for rendering.
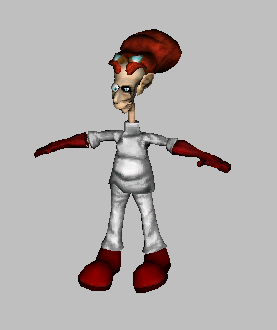
Same models rendered with MeshSmooth applied
If you want to use a particular mesh but its polygons violate these guidelines, use 3ds Max to add or delete edges and polygons as needed before applying Physique to the mesh. Usually, these rules are not so important for the facial area of the model, where little deformation will take place with Physique.
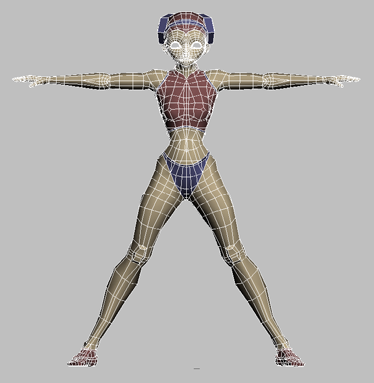
For example, the character shown below was originally modeled as designed, but with no regard for the best polygon distribution for Physique. The numerous odd-shaped polygons (especially around the hips), and the pose with the legs too close together, would have made this model difficult to work with after Physique was applied.
The model was altered to work better with Physique by deleting edges and vertices, and reshaping many of the polygons in the hip area. The model was also altered to make the character assume the reference pose.
After MeshSmooth is applied to the simplified mesh, renderings of the two models look identical. However, the second model works much better with Physique.