You will use the primitive Tube object with the Slice option to create an enclosure for the revolving door.
 open revolving_door_enclosure.max from the startup folder.
 (Maximize Viewport Toggle). This button is at the extreme lower right of the 3ds Max Design window.
 (Create New Layer).
The Move Selection To New Layer setting should be off. If you leave this on, the hub will be moved from the previous layer to the new layer.
The Enclosure layer is now visible in the Layer Properties field.
 (Zoom Extents) to zoom back so you can see the area around the cylinder.
 Create panel
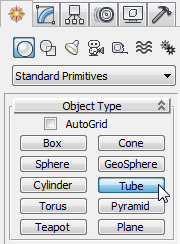
  Object Type rollout, click Tube.
The Tube button highlights, indicating it is active and ready for use.
The size doesn't matter; you'll be changing it in a moment.

Make a tube.
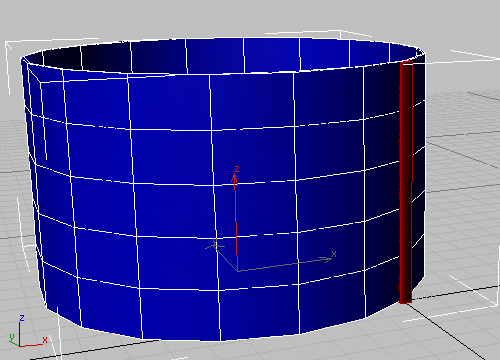
Change the radius and height of the tube.
Next, you'll center the tube over the cylinder.
 Align.
The tube is already selected, so you'll align it to the cylinder.
Align Position (World) group, turn on X Position, Y Position, and Z Position. Choose Pivot Point for both Current Object
and Target Object. Click OK.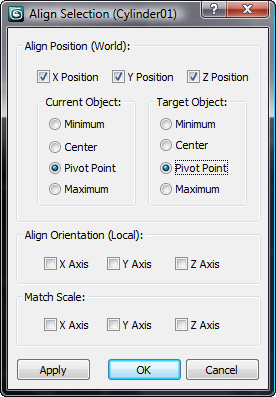
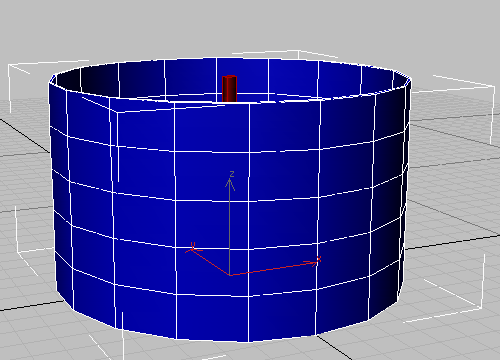
The tube is centered over the cylinder.
On the Create panel, in the Name And Color group, rename the Tube object left enclosure panels.
 Modify panel.

Slice the tube

Lower the number of faces.
Next you'll clone the tube to create the other side of the enclosure.
 (Select And Rotate).
A copy of the tube rotates into place on the other side of the enclosure.

Depending how you constructed the initial tube, you might have different values. The difference between the two should be a multiple of 90.
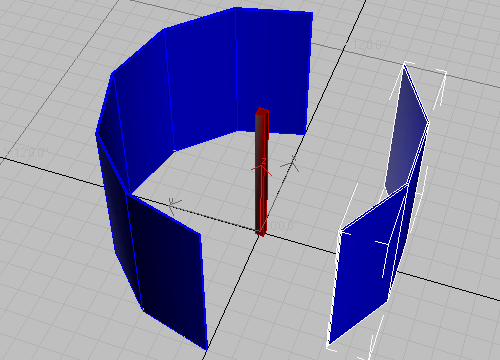
Left and right enclosures
You'll do some more work on the enclosures in a while, but first you'll construct the revolving door.


