In this lesson, you set the scene for late-day illumination, and adjust the exposure accordingly.
Change the time of day to late afternoon:
 Render the scene and make a
  clone of the result.
 select the Daylight object (the sun object, not the compass rose), then go to the
  Motion panel.
 Time group, set the Hours to 18 and Mins. (Minutes) to 30 (6:30 PM, or 1830 hours).
Render the Camera-Terrace view again.
Time group, set the Hours to 18 and Mins. (Minutes) to 30 (6:30 PM, or 1830 hours).
Render the Camera-Terrace view again. 
The scene is fairly dim, but you can improve this by adjusting the exposure to a setting more appropriate for this time of day.
 (Environment And Effects Dialog (Exposure Controls)) to display the Environment And Effects dialog.
Exposure group, Shutter Speed is set to a proper exposure for a camera angle facing the sun. But you can increase the amount
of light entering the scene by adjusting the camera lens aperture.
Render the scene and make a clone of the result.
(Environment And Effects Dialog (Exposure Controls)) to display the Environment And Effects dialog.
Exposure group, Shutter Speed is set to a proper exposure for a camera angle facing the sun. But you can increase the amount
of light entering the scene by adjusting the camera lens aperture.
Render the scene and make a clone of the result. 
The overall illumination is much improved, although the outline of the sun disc is lost.
Here, you will adjust scene exposure so that objects are convincingly illuminated by the setting sun.
Motion panel Control Parameters rollout Time group, set the Hours to 19 and the Mins. (Minutes) to 40 (7:40 PM, or 1940 hours).
Render the Camera-Terrace view again. 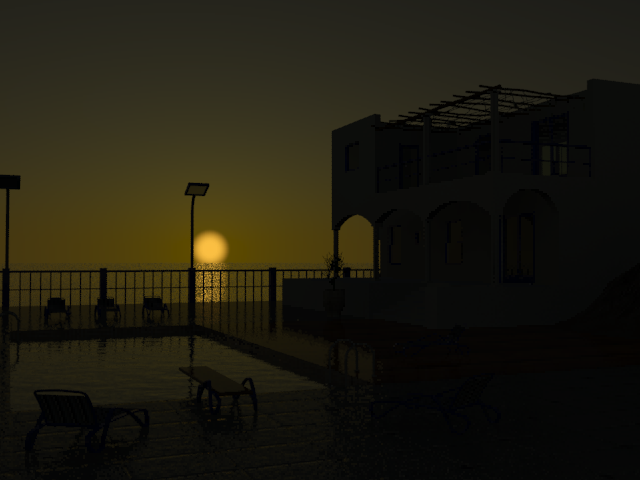
The scene is extremely dark because the exposure is still set for an earlier time of day.
Render the Camera-Terrace view again. 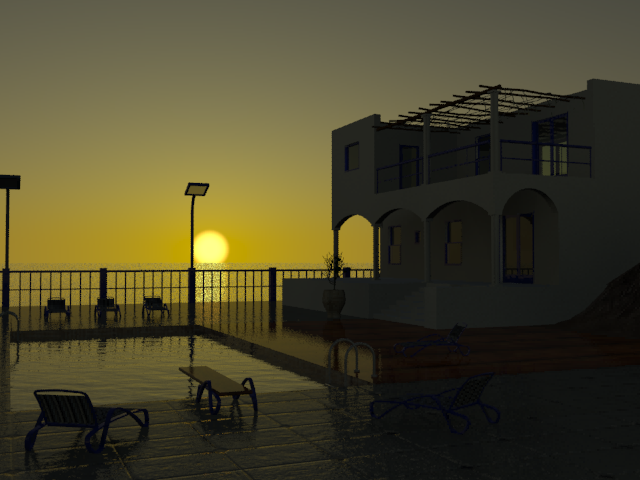
The “mr Physical Sky shader” produces a vivid sky gradient, and details around the pool are much more apparent.
You can create a Daylight system to simulate real-world outdoor lighting conditions at any time of day, at any location on the planet. mental ray offers a range of presets that define proper exposure settings for specific lighting conditions, which you can adjust manually as needed. You can also add Sky Portal objects to channel sky light into doorways and windows of structures, to enhance their interior illumination.


