Now that the camera is constrained to the path, you'll animate the camera rotation so that it is aimed in a more natural position
at points of interest in the scene.
Set up the lesson:
- Continue from the previous lesson, or on the Quick Access toolbar, click
 (Open File) and in the folder, open great_wall_head.max.
TipIf the Units Mismatch dialog displays, choose Adopt The File's Unit Scale and then click OK.
This is the same scene from the previous lesson. The camera is now in place, but you will use Walkthrough Assistant to animate
the Turn Head parameters.
Turning off Follow Path:
- If the Walkthrough Assistant dialog is not visible, go to the Animation menu and choose Walkthrough Assistant.
- In the Advanced Controls rollout, in the Path Controls group, disable the Follow Path option. You will not need it because
you will control the head rotation manually.
NoteDisabling the Follow Path option resets the camera orientation to its default value (positive Y). You will fix that as you
start animating the head rotation from the Walkthrough Assistant dialog.
- Make sure you are at frame 1, then turn on
 (Auto Key).
- In the View Controls rollout, move the Turn Head slider to the left and adjust the Head Tilt Angle to 16.4 in order get a better viewing angle of the brick path in the Camera viewport.
- Drag the time slider to frame 206. You are now at the other side of the hilltop. Adjust the Head Tilt Angle to –3.3 to level the camera head, then slide the Turn Head slider to the right to adjust the rotation.
The goal is to adjust the camera head rotation so that it looks towards the tower as if it has suddenly caught your attention.
- Drag the time slider ahead to frame 408. Adjust the Head Tilt Angle to –13.5 so that you are looking at the paving stones in front of you.
Although it's nice to look at the scenery, it’s also important to create a walkthrough that “feels” comfortable; in other
words, to make it so that the viewer doesn’t feel off balance while doing the a virtual walkthrough of your scene.
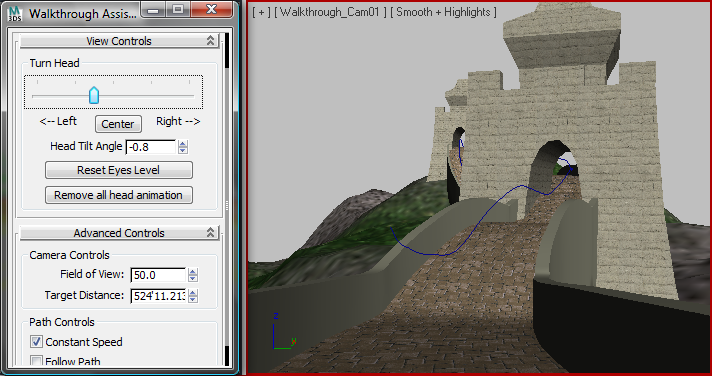
- Drag the time slider to frame 615. Change the Head Tilt Angle to –0.8 and drag the Turn Head slider a little to the right so the camera is looking at the tower again.
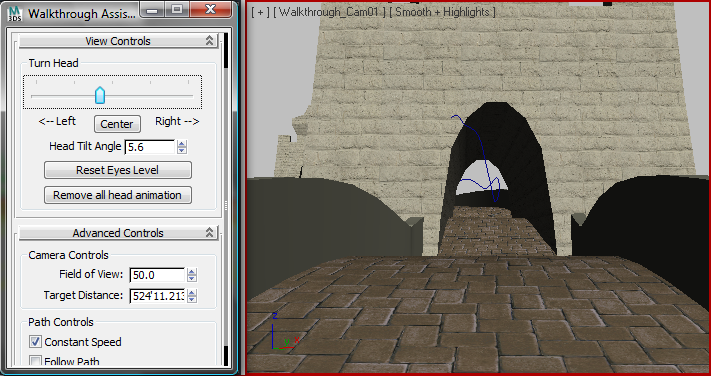
- Drag the time slider to frame 800. Change the Head Tilt Angle to 5.6. Move the Turn Head slider to the right until the tower opening is centered in the camera view.
- Scrub the time slider to frame 1050. Change the Head Tilt Angle to –0.8. Move the Turn Head slider a little to the left so that the camera is tilted in anticipation of turning left after exiting
the tower.
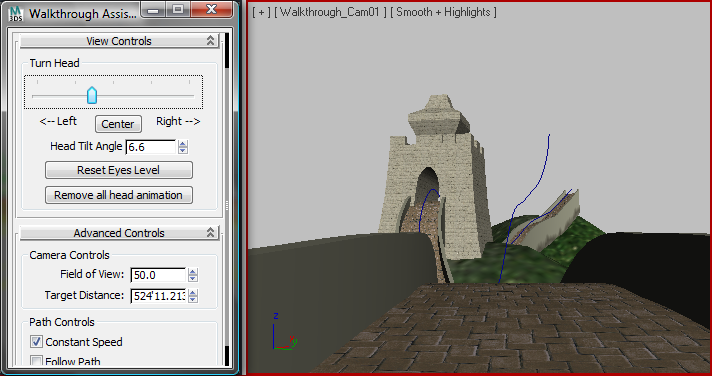
- Drag the time slider to frame 1150. Change the Head Tilt Angle to 6.6. Move the Turn Head slider slightly to the left so that you're looking the second tower in the distance.
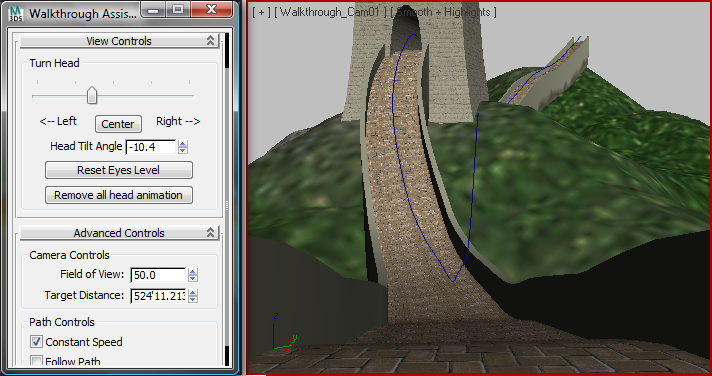
- Drag the time slider to frame 1280. This time change the Head Tilt Angle to –10.4 so that the camera head is tilted downwards to match the slope of the path.
- Drag the time slider to frame 1420. Change the Head Tilt Angle to –11.9 to tilt the camera head further down.
- Drag the time slider to frame 1680. You're now looking up again towards the tower ahead of you. Adjust the Head Tilt Angle
to 24.7. Slide the Turn Head slider a little to the left so that is aimed at the second tower.
- Drag the time slider to frame 1860. Change the Head Tilt Angle to 29.4. Move the Turn Head slider slightly to the right so until you’re looking at the second tower opening.
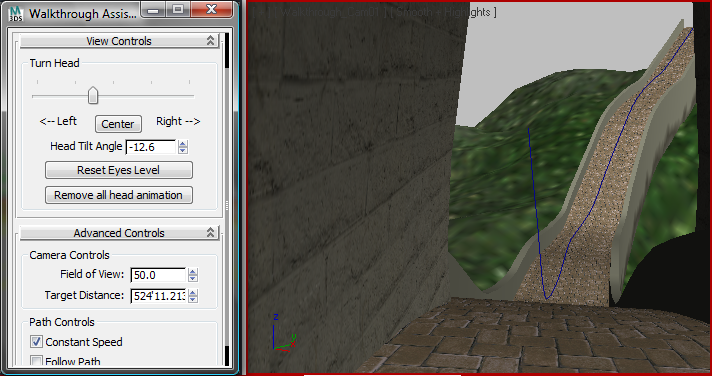
- Drag the time slider to frame 2030. Change the Head Tilt Angle to –12.6.
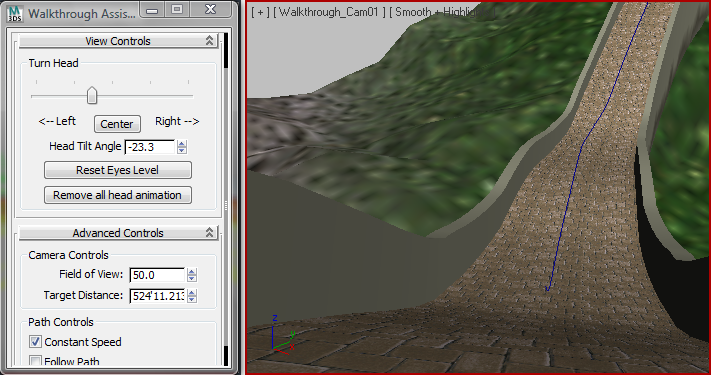
- Drag the time slider to frame 2125. At this point in the walkthrough, you are going downhill again. Change the Head Tilt Angle
to about –23.3. You want the camera head tilted downward toward the path instead of out towarde the scenery, because you want the animation
to feel as if you're watching your step.
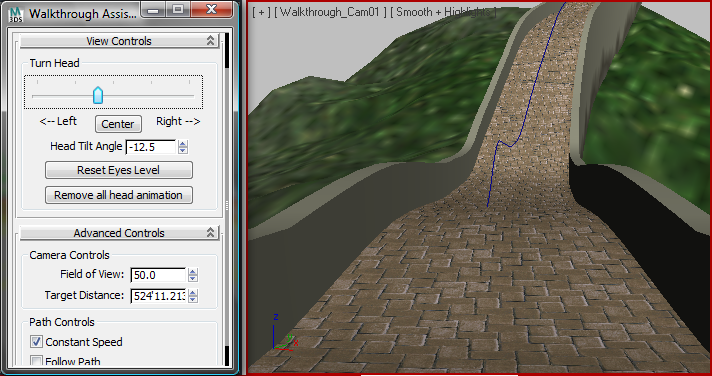
- Drag the time slider to frame 2250. You are still looking at the path in front of you. Change the Head Tilt Angle to –12.5. Adjust the Head turn and tilt to that purpose.
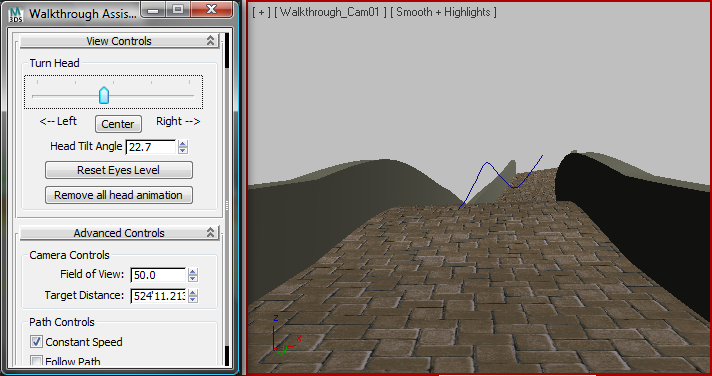
- Drag the time slider to frame 2550. You are now going up the path. Change the Head Tilt Angle to 22.7, and move the Turn Head slider slightly to the right so that you’re looking toward the end of the pathway.
- Turn off
 (Auto Key).
 Play the animation in the camera viewport to see the results. Notice that the camera motion is far more natural than it was
in the previous lesson.
NoteThe camera path will not be visible when you render the animation.
Save your work:
- Save the scene as my_walkthrough_animated.max.
Summary
In this lesson, you have created a camera walkthrough animation using the Walkthrough Assistant. You have learned to calculate
the number of frames needed for the animation and you have learned to automate the creation of the camera and how to constrain
it to a path. Finally, you have learned how to manually animate the head turn and tilt of the camera to create realistic camera
motion.
 (Open File) and in the folder, open great_wall_head.max.

 (Auto Key).



 (Auto Key).
 Play the animation in the camera viewport to see the results. Notice that the camera motion is far more natural than it was
in the previous lesson.