You will start by adding incandescent, halogen, and fluorescent lights, whose real-world properties will illuminate the night scene.
 (Open File), navigate to the \scenes\lighting_and_rendering\med_villa folder, then open med_villa_lighting_start.max.
Create a recessed light for the porch:
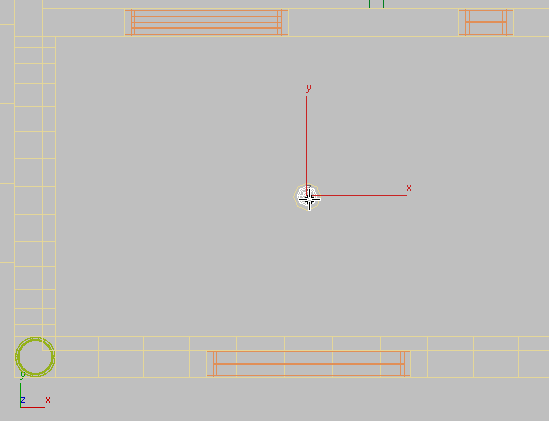
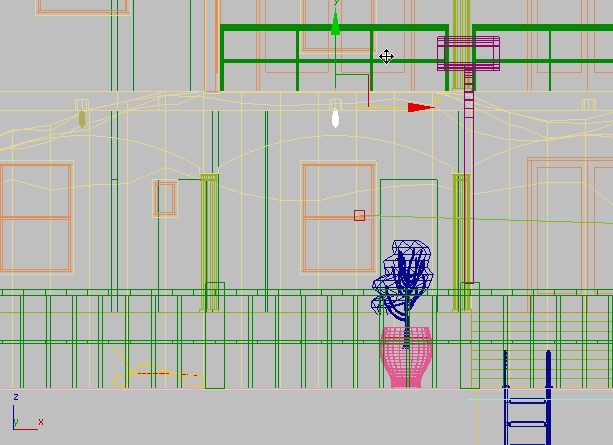
 zoom in to the forward portion of the trellis, as shown in the next illustration.
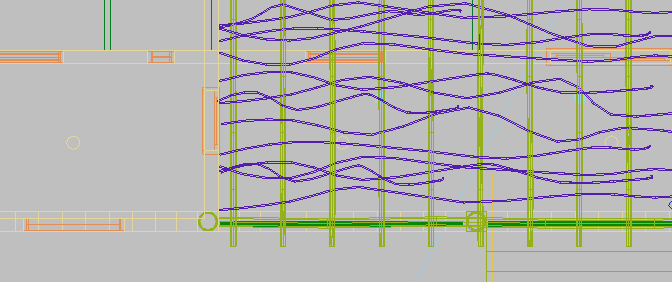
There are three light fixtures in the ceiling of the lower porch. These appear as small circles in the wireframe view.
Zoom in farther to the fixture on the left. 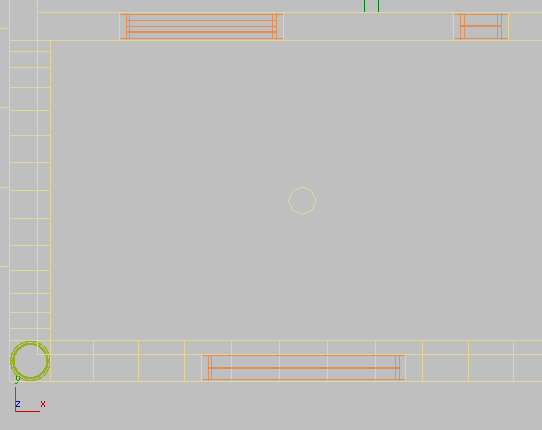
 Create panel, click
  (Lights).
The lights panel is automatically set to Photometric, meaning that any light you create in this category will exhibit real-world behavior in terms of light attenuation, distribution, color, and so on.
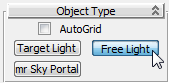
On the Object Type rollout, click Free Light to turn it on.
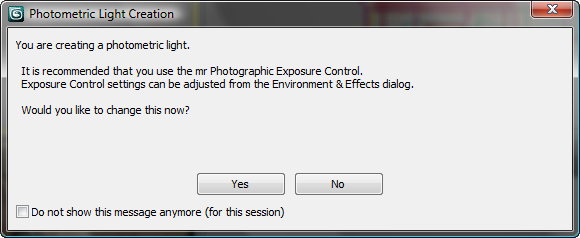
3ds Max Design opens a dialog that asks whether to add an “mr Photographic Exposure Control” to the scene.
By default, the light object is created on the surface plane of the scene.
 (Select And Move) to move the light object on its Y axis until it is positioned inside the fixture.
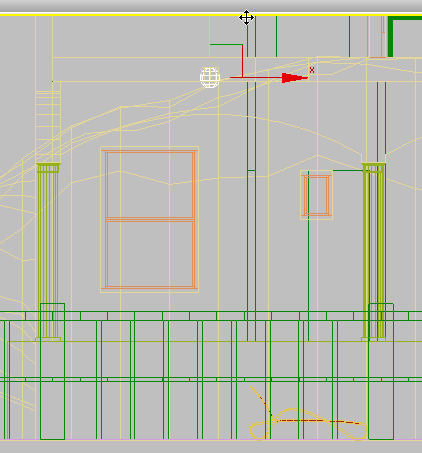
Set the properties of the light:
 Modify panel. From the Templates rollout
  Select A Template drop-down list, choose Recessed 75W Lamp (Web).
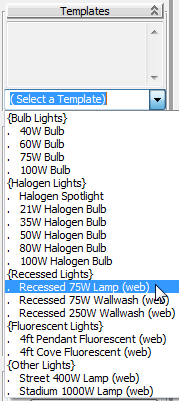
3ds Max Design updates values in the rollouts below the Templates rollout to match the real-world properties of a 75W incandescent light with uneven (web) distribution. You can adjust these properties, but for the present scene, we will use the template values.
 pan and
  zoom out until you can see the porch light fixtures to the right of the light you just created.
 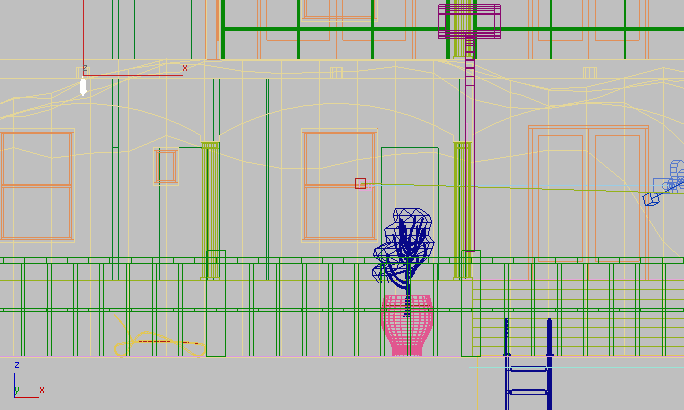 (Select And Move), then Shift+drag a copy of the Free Light along its X axis until it is inside the neighboring socket, as shown in the next illustration.
3ds Max Design opens a Clone Options dialog. In the dialog Object group, choose Instance. Set the Number Of Copies to 2, and then click OK.

3ds Max Design adds the other two porch lights. The third light has the same spacing you gave to the scond, so it lines up with the socket at the right.
 render the scene.
Considering that the scene has only three fairly low-power lights in it, the result is not bad.
zoom and pan so you can see the plan of the house. 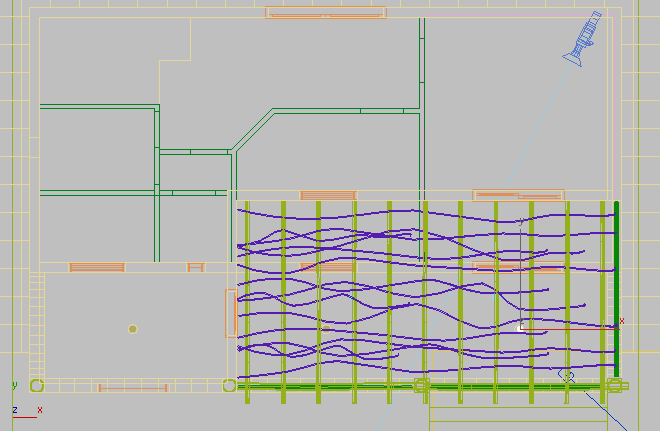 Create panel, click (Lights). On the Object Type rollout, click Free Light to turn it on.
 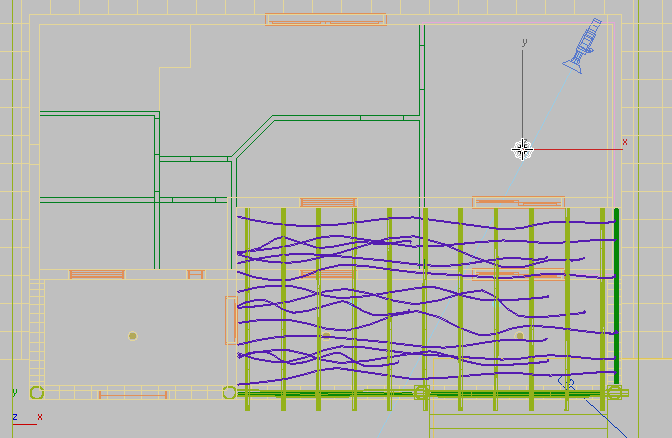 (Select And Move) to move the light object on its Y axis until it is positioned just above the lower-story doorway.
  Modify panel. On the Templates rollout, open the drop-down list and choose 100W Bulb.
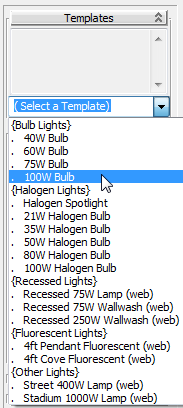
You will accept the default settings for this photometric light.
Add another instance of the interior light:
(Select And Move) to Shift+drag the 100W light object to the area of the kitchen window on the left, as shown in the next illustration. 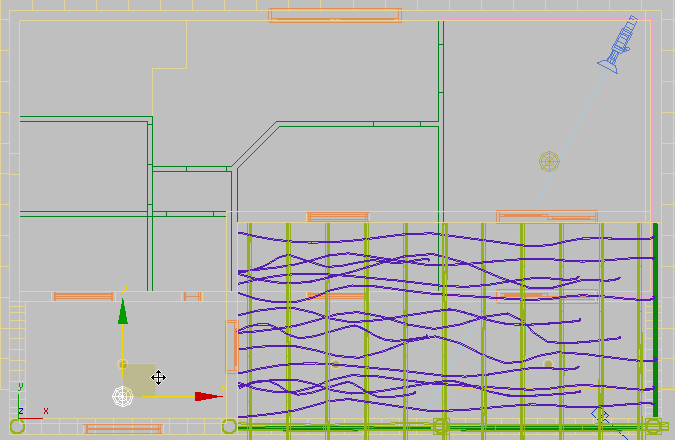
In the Clone Options dialog, make sure Instance is chosen, then click OK.
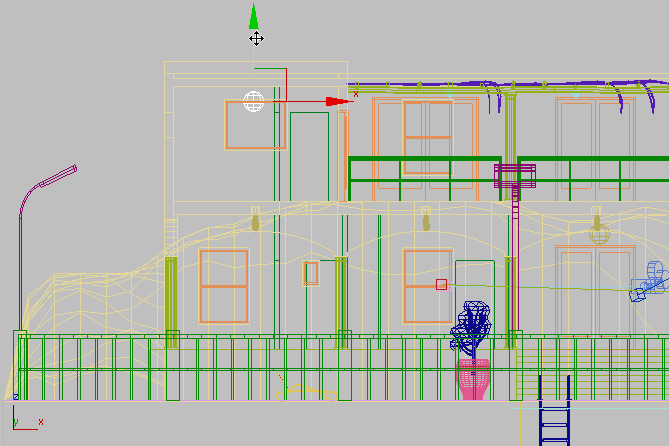 zoom in closely on the balcony area.
There are two blue light fixtures over the balcony: ConeLightBulb01 and ConeLightBulb02.
Create panel, click (Lights). On the Object Type rollout, click Free Light to turn it on. 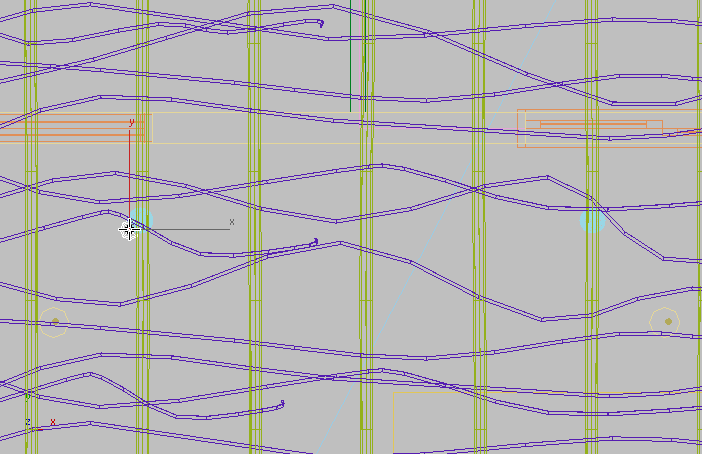
 (Align), then click ConeLightBulb01.
Align Selection (Screen) group, turn on X, Y, and Z Position, then choose Center for both Current Object and Target Object.
Click OK.
(Align), then click ConeLightBulb01.
Align Selection (Screen) group, turn on X, Y, and Z Position, then choose Center for both Current Object and Target Object.
Click OK. 
This aligns the center of the light object with the light fixture.
Keep in mind that because the light is set to cast shadows, the object it is placed in must have a material transparent enough for light to pass through. Otherwise, rays from the light object will strike the inside of the object it is enclosed in, and travel no farther.
Templates rollout and choose 100W Bulb. Keep in mind that the light you choose in this list possesses the same properties as a real-world light, and must therefore be appropriate for the area it is intended to illuminate. In terms of light attenuation, for example, for every 10 meters distance travelled, light intensity from this 100-Watt bulb will drop off to 1/100th of its initial strength.
 (Select And Move), Shift+drag to copy the light to a position near ConeLightBulb02.
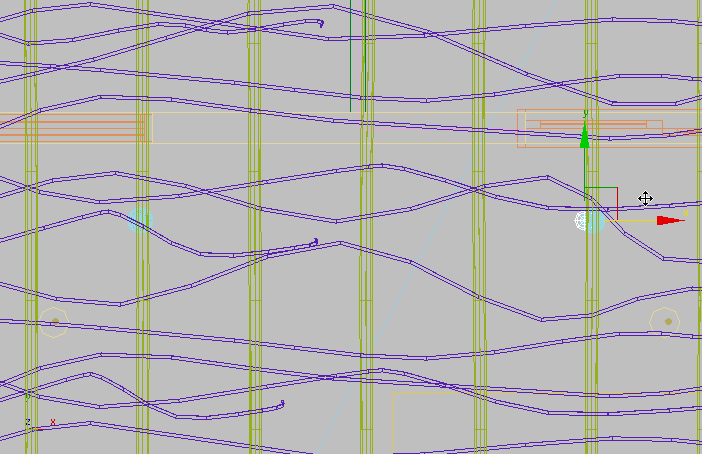
In the Clone Options dialog, make sure Instance is chosen, then click OK.
Render the scene again to see the result:
 clone of the currently rendered frame.
render the scene.
clone of the currently rendered frame.
render the scene. 
Compare the two rendered images.
Because you used a yellow color (2800K) for the 100W bulb light objects, the upper balcony is bathed in a yellowish light. Also, now light is visible from the door and windows of the two rooms that have lights inside them.
Add halogen lights to the pool:
zoom and pan so you can see the swimming pool, as shown in the next illustration.  Create panel, click (Lights). On the Object Type rollout, click Free Light to turn it on.
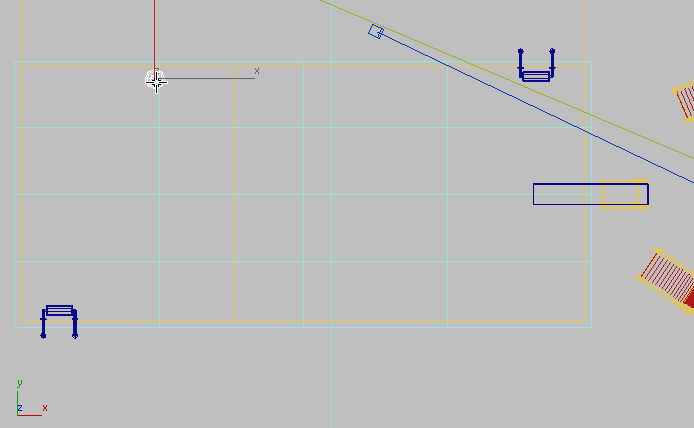
Be sure to position the light so it is slightly away from the pool wall.
pan so you can see the swimming pool, then use (Select And Move) to move the light object on its Y axis until it is positioned at the midpoint between the floor of the
pool and the waterline.  Modify panel. On the Templates rollout, open the drop-down list and choose 80W Halogen Bulb.
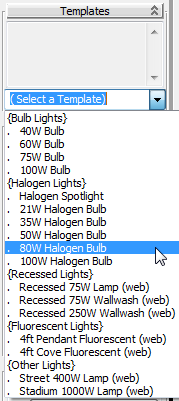
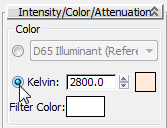
The default color for this type of light is 2900 degrees Kelvin, which produces a yellowish hue. A whitish-blue color is preferable, so now you will modify the light’s Kelvin value accordingly.
Color group, make sure Kelvin is chosen, then set the Kelvin value to 8000.0. 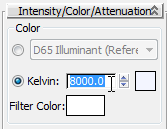
 Shift+move the light to place the new light about halfway along the length of the pool.
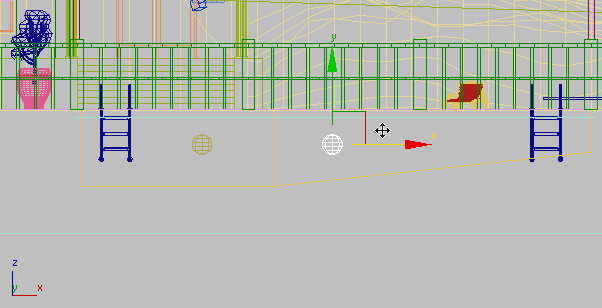
In the Clone Options dialog, make sure Instance is chosen, then increase the Number Of Copies to 2. Click OK.
3ds Max Design adds two new lights, spaced equally apart.

 Ctrl+click to select all three light objects, then Shift+move them to place copies at the opposite side of the pool (leave a bit of distance between the lights and the side of the
pool).
Ctrl+click to select all three light objects, then Shift+move them to place copies at the opposite side of the pool (leave a bit of distance between the lights and the side of the
pool). 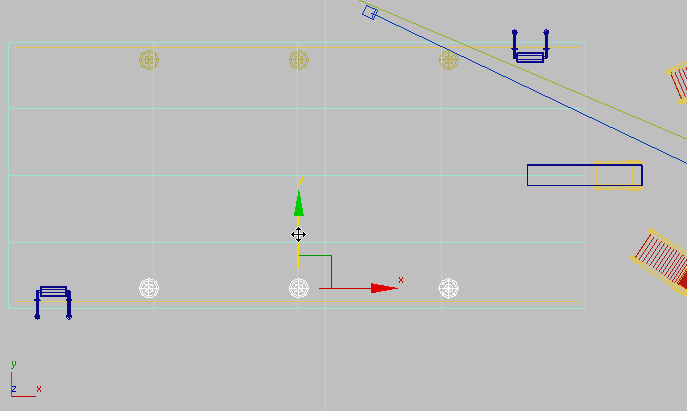
In the Clone Options dialog, make sure Instance is chosen and Number Of Copies equals 1, then click OK.
Render the villa with pool lighting:
clone of the currently rendered frame.
render the scene, then compare the two renderings. 
The scene is starting to take shape. Your next task will be to add light objects to the lamp posts that surround the pool.


