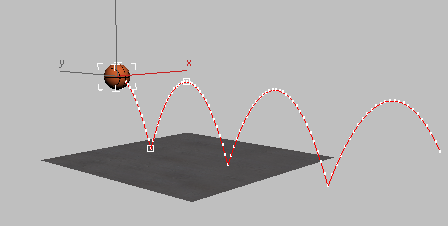
Typically, a bouncing ball does not bounce once. The Curve Editor gives you the means of repeating the initial bounce.
The X Position track has keys that don’t change, so you can safely delete them.
 Controller window, click the X Position track to display the curve for that track.
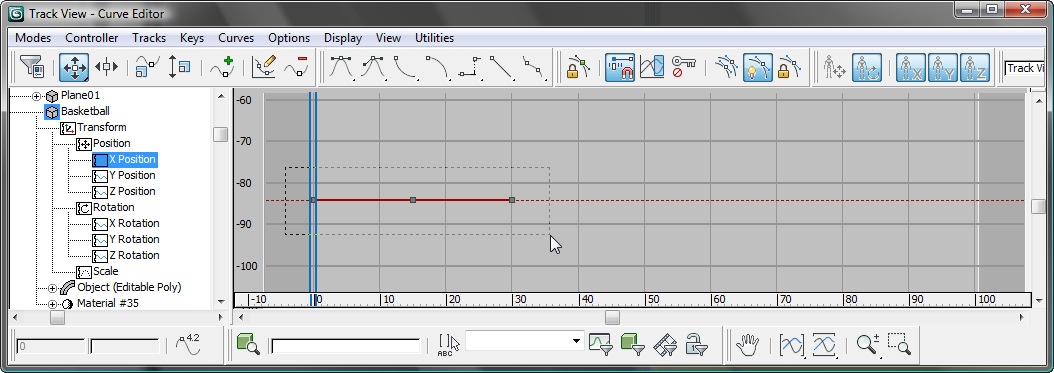
Dragging to select the X Position keys

All X Position Keys selected
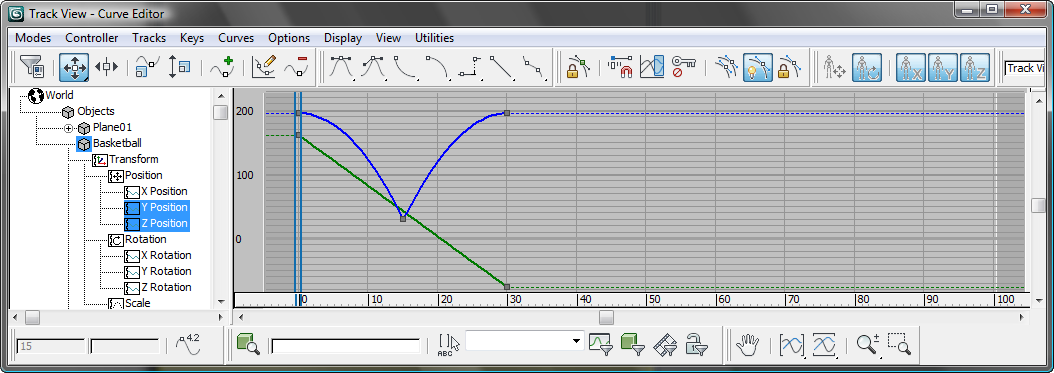
 Controller window, click the Z Position track, then hold down Ctrl and click the Y Position track so both curves are visible.
 (Parameter Curve Out-Of-Range Types).
If this button is not initially visible, right-click a blank area of the Track View toolbar and choose Show Toolbars  Curves: Track View.
3ds Max Design opens the Param Curve Out-Of-Range Types dialog.
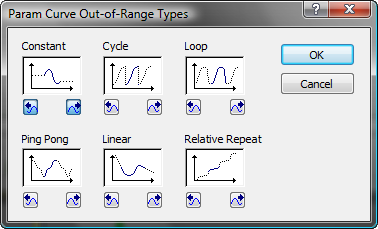
This dialog presents various options for how to continue a portion of animation outside the range of the keys you’ve created. Each option is represented by a graphic button. In the graphic, the original animation is represented by a solid trace, and the effect of continuing the animation is represented by dotted traces.
You can click a graphic button to choose the same type for both incoming and outgoing animation, or use the smaller buttons to choose incoming and outgoing types individually.
At first glance, Loop seems the obvious choice, but while this option successfully loops the bounce, it also loops the forward motion of the basketball, which is not what we want. You can see this effect in both the Curve Editor and the viewports.

The Z Position track repeats successfully, but the sawtooth shape of the Y Position track shows that the ball keeps returning to its starting position.

In viewports, the trajectory shows the same effect: Loop creates a closed loop for the ball, instead of forward motion.
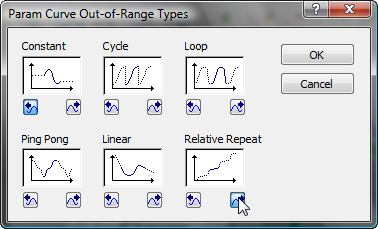
(You can leave the incoming animation set to Constant, because the bounce begins at the start of the scene animation.)
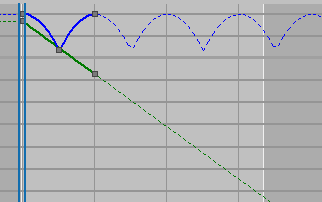
Now the ball bounces as before, but at each continuation of the bounce, the forward motion begins where it ended. You can see the difference in the Curve Editor, if you zoom out in the curve window: The Z Position track goes up and down, but the Y Position track continues in a straight line.
 Zoom out in the Perspective viewport so you can see the full trajectory of the basketball.