For the most part, clothes are made of flat pieces of fabric that are then sewn together. A pattern is often printed on paper, so cloth can be cut to match the pattern. The Garment Maker modifier is based on this work model: It constructs a garment out of outlines drawn with 3ds Max splines.
 (Open File), navigate to
the \scenes\effects\cloth folder,
and open fashion_model_start.max.
(Open File), navigate to
the \scenes\effects\cloth folder,
and open fashion_model_start.max.
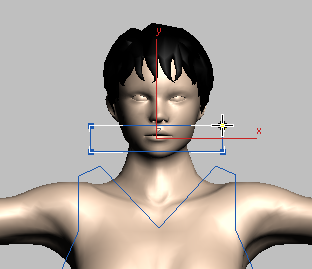
The scene contains a model who is wearing shoes but no clothes.
The scene is also animated: In frames 0 through 12, the model stands in a reference pose, but starting from frame 13, she walks forward as if on a runway in a fashion show.
Draw the Outline of the Pullover
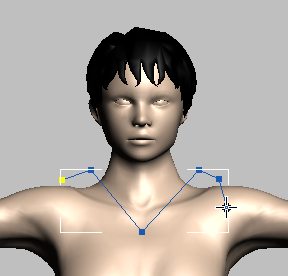
The model’s upper garment is a pullover with a collar. Its pattern has simple straight line segments.

Pattern for the front of the pullover
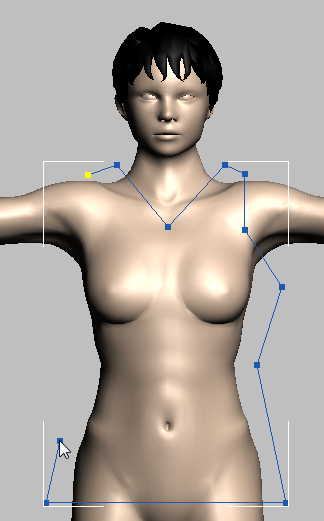
Draw the outline of the pullover:
 Create panel, click
  (Shapes) to turn it on,
then in the Object Type rollout, turn on Line.
(Shapes) to turn it on,
then in the Object Type rollout, turn on Line.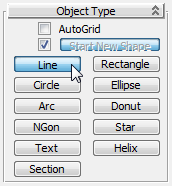
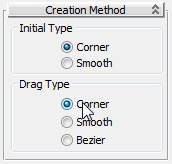
When you create a pattern for Garment Maker, it is best to use Corner vertices. Later, the modifier provides any smoothing that the garment requires.
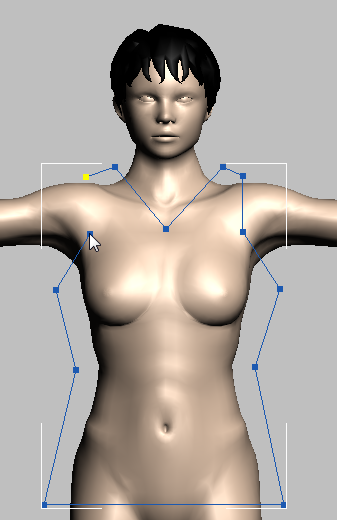
 Modify panel, turn on
  (Vertex) to go to the Vertex sub-object
level, and
(Vertex) to go to the Vertex sub-object
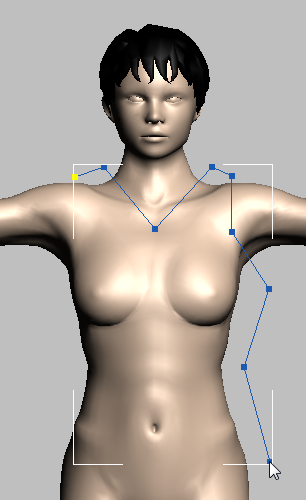
level, and  move vertices until you
have a symmetrical pattern with which you are comfortable.
move vertices until you
have a symmetrical pattern with which you are comfortable.
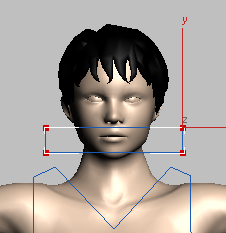
Draw the outline of the collar:
Create panel, turn on (Shapes) if it isn’t already
on, and then turn on Rectangle.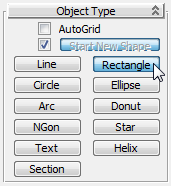
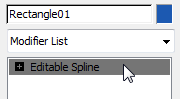
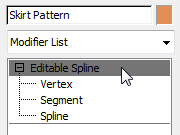
 Convert to Editable
Spline.
Modify panel, and turn on (Vertex) to go to the Vertex
sub-object level.
Convert to Editable
Spline.
Modify panel, and turn on (Vertex) to go to the Vertex
sub-object level.
 select all the vertices
in the collar outline.
select all the vertices
in the collar outline.
By default, 3ds Max creates a Rectangle shape with Bezier Corner vertices.
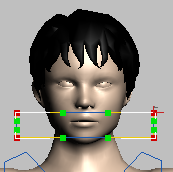
This converts the vertices to Corner vertices like those in the main part of the pullover pattern.
Attach the collar to the main pattern:
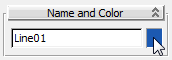
select the main spline of
the pullover pattern, Line01.
Modify panel Geometry rollout, click
to turn on Attach, and then click the collar outline, Rectangle01.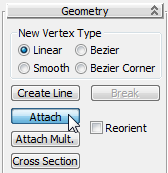

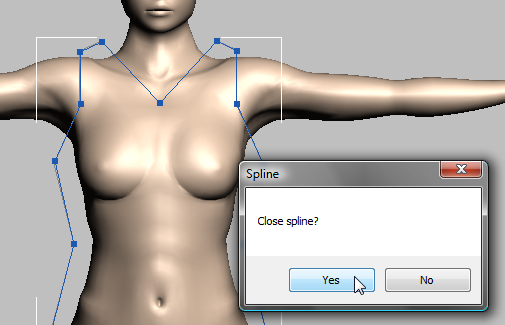
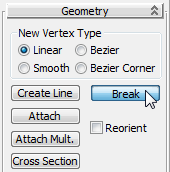
The Garment Make modifier recognizes seams by breaks in the outline of the pattern: A broken pair of coincident vertices indicates the end of a seam, while an unbroken vertex is part of a continuous seam. Because of this, you have to break vertices selectively before you apply Garment Maker.
Modify panel, turn on (Vertex).
Drag a box to select all
the vertices in the collar outline.
Drag a box again to select
the vertices at the top of the shoulder straps, but not the
midpoint of the neckline, or the midpoint of the armholes.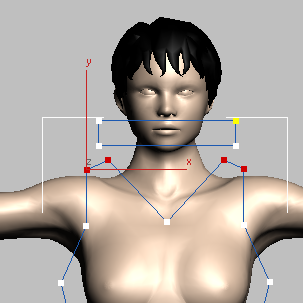

Copy the pullover outline to create the back panel:
 (Spline) to go to the Spline
sub-object level, and drag to select the entire pattern.
(Spline) to go to the Spline
sub-object level, and drag to select the entire pattern.
 (Select And Move), then Shift+move the pullover pattern
to the right to make a clone of the original splines.
(Select And Move), then Shift+move the pullover pattern
to the right to make a clone of the original splines.
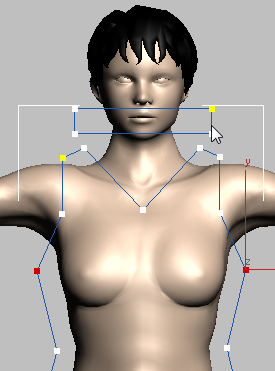
Adjust the neckline of the back panel:
Modify panel, turn on (Vertex) to go to the Vertex
sub-object level, then move the center vertex of
the back panel’s neckline vertically, so the neckline at the back
of the pullover doesn’t plunge as the front neckline does.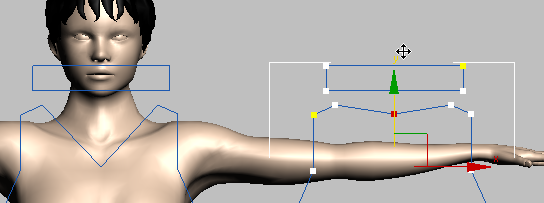
The pattern is now ready for you to apply Garment Maker to it. Before doing that, you will create a comparable pattern for the skirt.
The skirt is also a simple pattern, but it includes lines to control where the pleats will be.
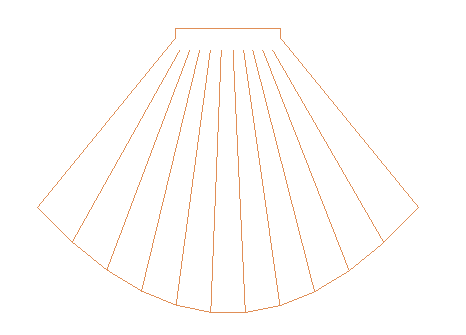
Pattern for the skirt
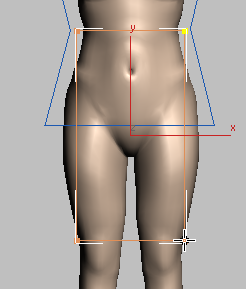
Draw the outline of the skirt:
 Zoom out in the viewport
a bit, to see more of the model’s figure.
Create panel, turn on (Shapes) if it is not already
on, and click to turn on Rectangle.
Zoom out in the viewport
a bit, to see more of the model’s figure.
Create panel, turn on (Shapes) if it is not already
on, and click to turn on Rectangle.

Convert To Editable
Spline.
Modify panel, and turn on  (Segments).
Select the two vertical
sides of the rectangle.
(Segments).
Select the two vertical
sides of the rectangle.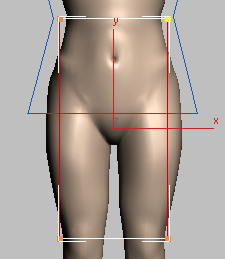
(Vertex). Drag a box to select all the vertices
in the skirt, then right-click, and from the Tools 1 (upper left) quadrant
of the quad menu, choose Corner.
Drag a box to select the
new, middle vertices along the side of the skirt pattern.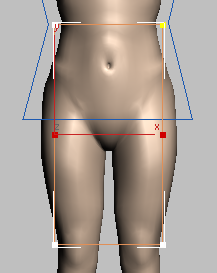
Move the vertices vertically
so they are just below the top vertices of the rectangle. They should
form a waistband for the skirt.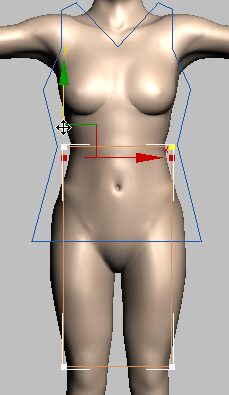
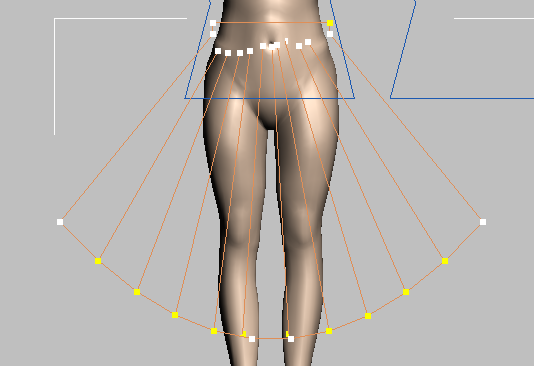
Change the hem line to a rounded hem:
 (Select And Non-Uniform
Scale), then from the Pivot Point flyout, choose
(Select And Non-Uniform
Scale), then from the Pivot Point flyout, choose  (Use Selection Center).
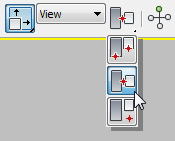
 Vertex sub-object level,
select the two lower vertices of the skirt pattern. These are the
vertices that define the hem line.
Vertex sub-object level,
select the two lower vertices of the skirt pattern. These are the
vertices that define the hem line.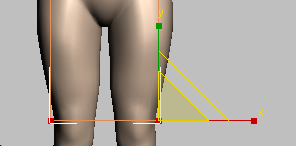
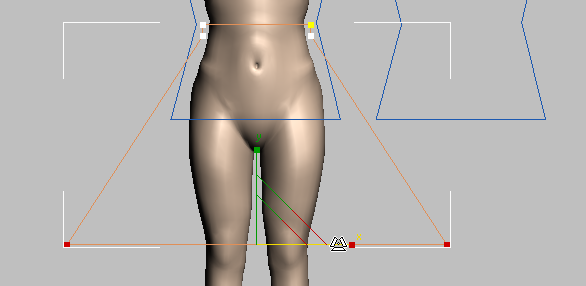
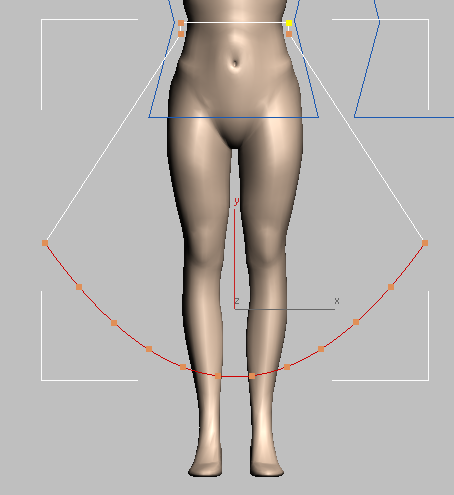
Move the lower tangent handles,
along the hemline, downward to create a rounded hem for the skirt.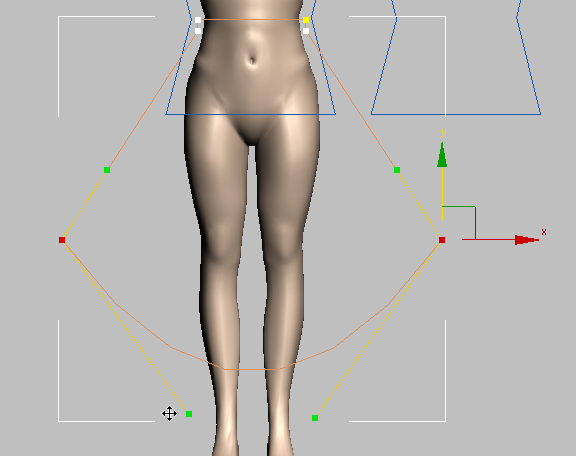
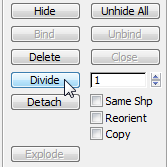
(Segment), then click to select the hemline.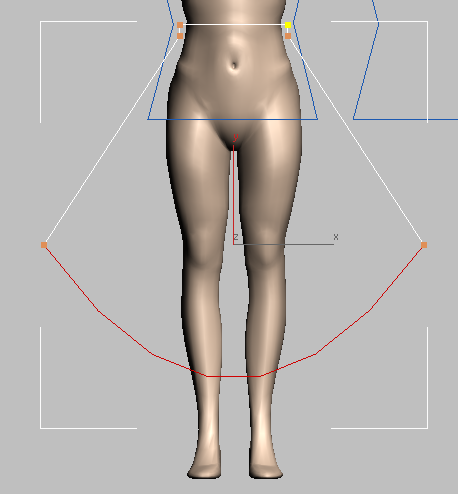
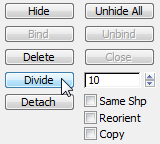
The new vertices will become the basis of the pleats of the skirt.
(Vertex). Drag a box to select all the vertices
in the hemline, including the outer ones. Then right-click, and
from the Tools 1 (upper left) quadrant of the quad menu, choose
Corner.
Add the segments that will become pleats:
The Garment Maker and Cloth modifiers provide a number of different ways to create pleats, darts, and so on. The method we use in this tutorial is one of the easier and more efficient ways. For more details about modeling clothes, see the 3ds Max help.
 (Snaps Toggle) to display
the Grid And Snap Settings dialog. In the dialog, click Clear All, and
then click to turn on Vertex.
(Snaps Toggle) to display
the Grid And Snap Settings dialog. In the dialog, click Clear All, and
then click to turn on Vertex.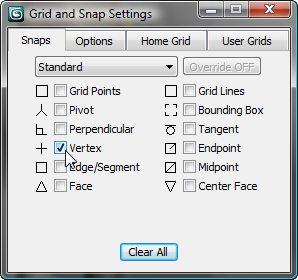
(3D Snaps Toggle).
Vertex sub-object level, then
on the Geometry rollout, click to turn on Create Line.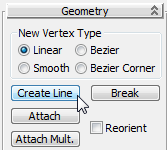

 (Select And Uniform Scale),
then drag a box to select all the top vertices of the seam lines.
(Select And Uniform Scale),
then drag a box to select all the top vertices of the seam lines.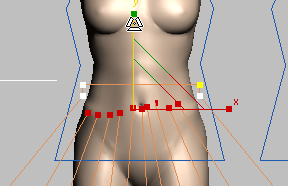
Scale downward along the
Y axis until the vertices are level with each other.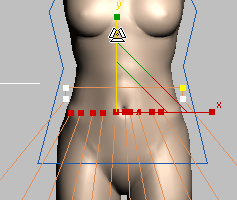
Move individual vertices
horizontally along the X axis so the tops of the pleats are more
or less equidistant.
You don’t have to be too accurate in this step: As the skirt drapes and moves, the pleats will be more noticeable at the hemline than at the waist.
select all the vertices
in the skirt pattern, then on the Geometry rollout, click Break.
Now the pattern for the skirt is nearly complete.
Copy the pattern to create the back of the skirt:
(Spline), and drag a box
to select all the splines in
the pattern.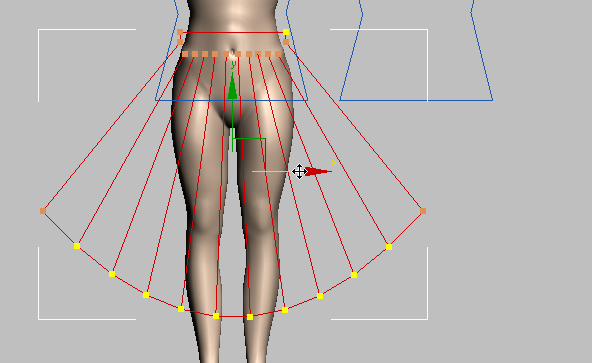
Shift+move
the skirt to the right, to create a duplicate panel that will become
the back of the skirt.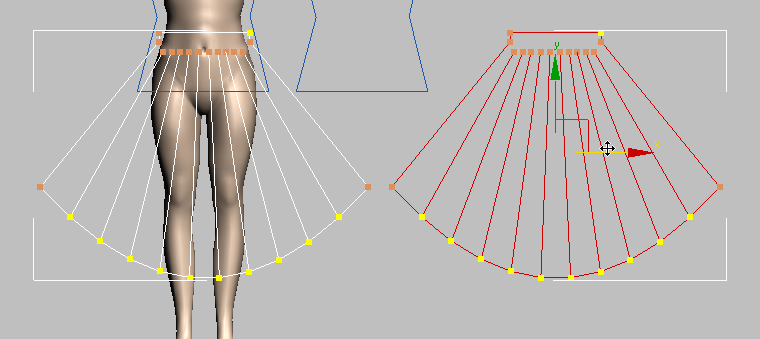
Now you are ready to use Garment Maker to build the costume.


 Close the Grid And Snap
Settings dialog.
Close the Grid And Snap
Settings dialog.